


Gel Nails: What They Are, the Types of Gel and How Long They Last
Gel nails can mean gel polish, rubber base, builder gel or hard gel. Learn what each one does, how long it lasts, how it comes off and whether gel harms your nails.
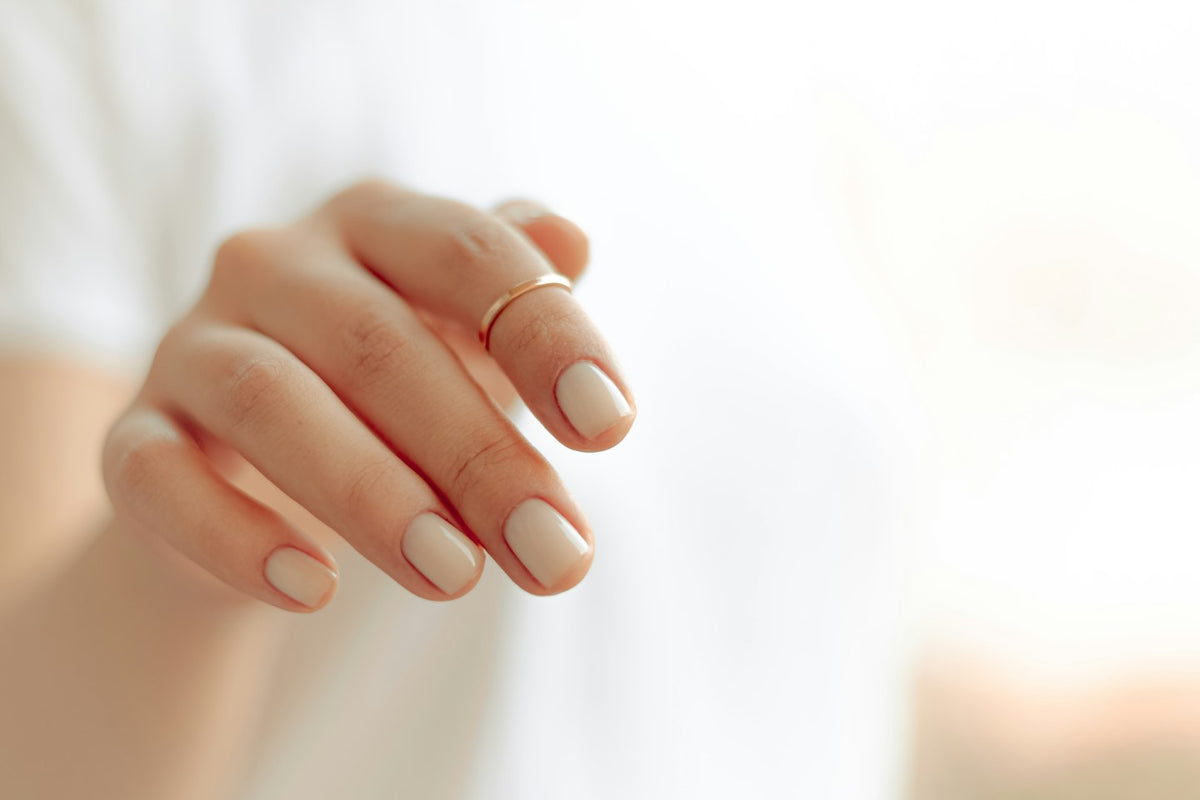
Gel nails can mean gel polish, rubber base, builder gel or hard gel. Learn what each one does, how long it lasts, how it comes off and whether gel harms your nails.

Gel nails are natural nails or extensions coated in gel, a resin that stays soft until it's cured, or hardened, under a UV/LED lamp. Once cured, it forms a hard, glossy layer, and a gel manicure usually lasts two to three weeks, while ordinary polish often chips within days.
The term covers different things, though, from gel polish on your own nails to builder gel overlays and sculpted extensions. This guide explains each type, compares gel with acrylic and shows how to wear it without damaging your nails.
Nail gel is a blend of acrylate resins, the same family of ingredients as acrylic nails, and photoinitiators that react to light. Under a UV/LED lamp, the photoinitiators set off a reaction that links the resin into a solid layer. This is curing, and the time it takes depends on the gel, the shade, the layer's thickness and the lamp, so follow your gel's instructions. Unlike regular polish, gel doesn't dry in the air, so you can straighten a line or clean the skin around the nail before curing.

Many gels still feel tacky when the lamp switches off. This sticky film, the inhibition layer, forms because oxygen in the air stops the surface from curing fully. On the base and colour it helps the next coat grip, so leave it there, but don't touch it: it's uncured gel. After the final coat, it's wiped off with a gel cleanser, unless your top coat is a no-wipe formula.
All nail gels cure under a lamp, but they differ in purpose, strength, removal and wear.
| Type | Main use | Strength | Removal | Typical wear |
|---|---|---|---|---|
| Gel polish and cat eye | Colour on natural nails | Flexible, adds little strength | Soaked off in acetone, or filed | Two to three weeks |
| Rubber base | Base coat, sheer manicures, bendy nails | Flexible, adds a little strength | Filed down; soaked if the formula allows | Two to three weeks |
| Builder gel | Strength, apex, extensions, repairs | Strong | Filed off | Infill every three to four weeks |
| Hard gel | Sculpted extensions, mainly in salons | Strongest and most rigid | Filed off; won't soak off | Infill every three to four weeks |
| Acrylic gel (acrygel) | Extensions, often with dual forms | Strong | Filed off | Infill every three to four weeks |
A gel manicure normally means gel polish: a fluid, pigmented gel brushed on like ordinary polish, between a base and a top coat. Most shades cover in two thin coats, each cured separately. Pale and sheer shades streak more easily. For the second coat, load a little more gel and float it over the nail without pressing, then add a third thin coat if it still looks patchy.
It lasts two to three weeks on healthy nails, and by then the regrowth at the cuticle tends to show more than any wear. A pale nude such as 017 Silk makes that gap far less noticeable than a dark red or navy.
To remove it, lightly file the top coat to break the seal, then wrap each nail in an acetone-soaked cotton pad and foil. Once the gel has softened, ease it off with a wooden cuticle stick, and rewrap any that resists instead of scraping.
Magnetic, or cat eye, gel polish contains fine particles that respond to a magnet. Held just above the uncured coat for a few seconds, the magnet draws them into a band of light, and curing the nail straight away fixes it in place. The effect shows most clearly on dark shades such as 005 Dark Aurora, a deep chocolate cat eye.
Otherwise it's applied, worn and removed like any gel polish. Our cat eye nails guide covers magnet techniques and the best colours.
Thicker and more flexible than a standard base coat, rubber base levels itself on the nail. It bonds well, fills small ridges and adds a little strength. Wear it under gel polish, on its own as a sheer manicure, or as a strengthening layer on short, bendy nails.
Brush a thin first layer well into the nail and cure it, then float a second layer on top, let it level for a few seconds and cure again. Because it runs easily, check the side walls and cuticle before each cure and wipe away anything that has touched the skin. A crystal-clear base such as RB01 Rubber Base Transparent works under any colour, or alone under a top coat for a bare, glossy nail.

With good prep, a rubber base manicure lasts two to three weeks. To remove it, file most of it down, then soak off the rest if the instructions say the product is soak-off.
Builder gel adds strength and length. It's thicker and stronger than a base, and it reinforces natural nails, repairs splits and builds extensions on forms or tips. Technicians also use it to build the apex, a slightly raised area over the stress point, where nails tend to bend and break.
It comes in pots or bottles, and in clear, milky, nude and coloured versions. With just a top coat over it, a milky white such as B003 Milky White or a warm beige such as B010 Beige Trench gives strong, natural-looking nails.
At home, it takes practice to place the apex correctly and file the surface smooth. Thick layers can heat up as they cure, so build the structure in two thinner layers where you can. If the heat still bothers you, slide your hand out of the lamp for a few seconds, then put it back and finish the full curing time.
Builder gel is removed by filing, not soaking, and is rarely taken off completely. At each infill, every three to four weeks, the old gel is filed down, the regrowth filled in and the shape rebuilt. A nail drill speeds this up, provided the bit never digs into the natural nail; our guide to nail drill bits shows which bit suits each step.
Hard gel is the strongest and most rigid gel, used mainly in salons for sculpted extensions and overlays. It's applied from a pot, cured, shaped with a file and maintained with infills. Acetone can't dissolve it, so it has to be filed off, and over-filing thins the natural nail, which makes hard gel a poor choice for beginners at home.
Acrylic gel, often called acrygel, is a putty-like hybrid of gel and acrylic powder. It doesn't level itself or set in the air. That leaves time to shape it with a brush dampened in slip solution, typically in dual forms, before curing it under the lamp. It's removed by filing.
The main difference is removal: soft gel soaks off in acetone, while hard gel has to be filed off. Soft gels such as gel polish cure into a looser structure that acetone can get into, whereas hard gel cures into a denser network that acetone can't penetrate.
Soft gel stays slightly flexible and moves with the nail, which makes it the usual choice for colour on your own nails. Hard gel is more rigid and scratch-resistant, so it holds long extensions well but can crack on bendy nails. Builder gel sits in between: much stronger than gel polish, more flexible than hard gel, and filed off.
Gel polish is just the coloured layer, while gel nails can mean anything from gel polish on your own nails to full extensions. If a salon offers gel nails, ask which they mean, because the appointment time, removal and upkeep all differ.
Acrylic nails are made from a liquid monomer and a powder, mixed into a bead that sets hard on its own, without a lamp. Acrylic is very strong and suits long extensions, but it's rigid, smells strongly when applied and is normally filed down, then soaked off. Gel has far less smell, stays workable until it's cured and gives a more flexible, glossier finish.
Yes, and gel polish is the easiest type to learn. With a good lamp and careful prep, a home manicure can last as long as a salon one. Builder gel takes more practice, and hard gel extensions are best learned on a course or left to a technician.
A nail drill isn't needed for gel polish, but it saves time with builder gel, and our guide to choosing a nail drill covers what to look for.
Beginners often under-cure their thumbs, which tilt sideways next to the other fingers, so cure them separately, laid flat. Once the basics feel easy, our gel nail art ideas are a good next step.
Applied and removed correctly, gel doesn't damage healthy nails. When nails end up thin and peeling after gel, the cause is almost always one of these habits.
Nails also don't need to breathe between manicures, because the nail plate is hardened keratin and the matrix that makes it is fed by the blood supply. If bad removal has thinned your nails, keep them short, use cuticle oil daily and protect them with a thin layer of rubber base while the damage grows out.
Allergy is the main health risk with gel. It develops through repeated contact between uncured gel and the skin, so good habits are the best protection.
If you notice redness, itching, swelling or blisters around the nails, stop using gel and see a doctor or dermatologist.
Read next: Builder gel vs gel polish, Polygel vs builder gel and Can you use normal nail polish with gel top coat?.
Gel needs a UV/LED lamp and patient removal, and regrowth shows after ten days to two weeks. The more serious risks, allergy from uncured gel on the skin and thinning from peeling or over-filing, are largely avoidable with careful technique.
A gel polish or rubber base manicure lasts two to three weeks on healthy nails. Builder gel and extensions are maintained with an infill every three to four weeks. Poor prep, oily or bendy nails and hands that are often in water can all shorten wear.
Yes, and short nails often hold gel better, because the tips take fewer knocks. File them into a round or oval shape that follows the curve of your cuticle, and still cap the free edge, however short it is. If your nails are weak, a thin layer of rubber base or builder gel helps them grow without breaking.
For colour and strength on your own nails, gel is usually the gentler choice, because gel polish soaks off and the product flexes with the natural nail. Neither damages nails by itself, though: application and, above all, removal decide. Acrylic suits long, hard-wearing extensions, and like gel, it must be kept off the skin.
Anyone who has reacted to gel or acrylic before should avoid it unless a doctor or dermatologist says otherwise. Nails with an infection, a fungal problem or a plate lifting from the nail bed need a doctor before any gel. Broken or inflamed skin around the nail should heal first. If you take medication that makes your skin sensitive to light, ask your doctor before using a nail lamp.
To build your first gel kit, start with a rubber base, a shade from our gel polish collection and a top coat to seal it.
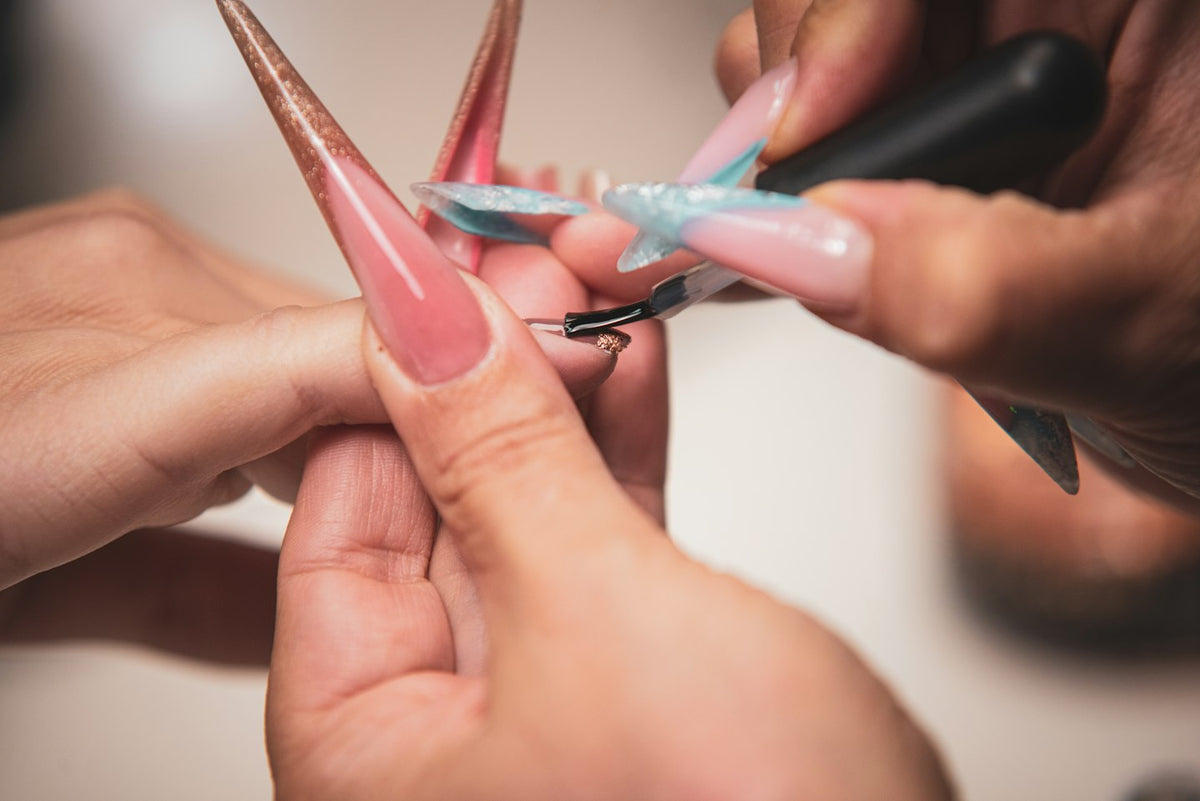
Gel vs Acrylic Nails: Differences, Pros and Cons, and Which Is Better
Acrylic and gel both give strong, long-wearing nails, and chemically they're close relatives. How they're applied, worn and removed decides which one suits your nails.
10 min read

Almond Nails: 15 Almond Nail Designs, from Short to Long
Fifteen almond nail designs, from micro French tips to a golden cat eye, each with the shades and steps to recreate it, plus how to file a neat almond at any length.
10 min read

Builder Gel vs Acrylic: Strength, Odour, Removal and How to Switch …
Builder gel vs acrylic compared for nail techs: strength and flexibility, odour, application, removal and nail health, plus how to switch an acrylic client to builder gel.
10 min read

Polygel vs Builder Gel: Differences, Pros and Cons, and Which One f…
An honest comparison of polygel and builder gel for nail techs: how each one is applied and removed, how they wear, and which one to choose for each client.
9 min read
Free delivery from 75€
Shipped from Nice, France
Prepared in 1 to 2 business days
For orders placed before 2 pm, Paris time
14-day returns
From the day you receive your order
Secure payment
Encrypted checkout
Not sure which shade or product to choose? Talk it through with one of our nail experts.
Book my consultationNail tech, salon or distributor? Join the Elegelli professional programme for pro pricing.


