Nails with Rhinestones: How to Make Nail Gems Stay On, Plus 8 Designs
Most rhinestones fall off because of a gap under the stone or a bare edge. How to set nail gems in gel so they stay on, plus a size chart and eight designs, from the office to New Year's Eve.
by Anastasia Kovalenko
Hands with grey cat eye nails decorated with small rhinestones on white fur
Nails with Rhinestones: How to Make Nail Gems Stay On, Plus 8 Designs
Nails with rhinestones stay on when each stone is pressed into a small bead of thick gel, cured, then sealed around its base. Left clear of top coat, the facets keep their full sparkle under party lights.
This guide covers why nail gems fall off, how to apply rhinestones on gel nails, which sizes to buy, eight designs and safe removal.
Why nail gems fall off, and how to make them stay
Five setting mistakes cause most lost or dull stones.
A flat back on a curved nail. A flat-backed stone touches a curved nail only along its centre, leaving a gap under each side that widens with bigger stones. A bead of thick gel fills it.
A bare edge. With gel only underneath, the rim of the stone catches on hair, wool and tights until it lifts. A narrow collar of gel around the base seals it.
A slick or greasy surface. Gel grips poorly on a cured no-wipe top coat and on stones touched with oily fingers. Set them before the top coat, using a pick-up tool.
Stones on the free edge. The tip takes the knocks from keyboards, zips and bag clasps, so keep stones back from it, ideally in the half nearest the cuticle.
Gel over the facets. A stone buried in top coat may hold, but the gel fills the angles between its facets, so they stop catching the light.
What you need to apply nail gems
Flat-back stones. Nail gems, or nail jewels, include rhinestones (also called strass), half pearls, studs and charms. Glass crystals keep their shine, while acrylic ones scratch and can cloud in acetone.
A thick gel. Builder gel holds its shape as a bead under the stone until it's cured. A transparent one such as B025 Poussière De Diamant hardly shows around the stone, and its subtle shimmer blends into the sparkle.
Tools. A wax pick-up pencil or a silicone-tipped tool, two detail brushes (one kept clean for tidying) and an orangewood stick.
A no-wipe top coat.Diamond Top Coat cures to a high shine with no sticky layer to wipe, so no fibres get caught around the stones.
B025 Poussière De Diamant hardly shows around a stone.
Diameters vary slightly between makers, so treat this chart as a general guide.
Size
Diameter
Best for
SS3
1.3–1.4 mm
Lines, gaps in a cluster
SS5
1.7–1.8 mm
Short nails, smile lines
SS10
2.7–2.8 mm
A cuticle stone on longer nails
SS16
3.8–4.0 mm
A feature stone
SS20
4.6–4.8 mm
The centre of a cluster
How to apply rhinestones on gel nails, step by step
Stones go onto the cured colour, before the top coat, one nail at a time.
Prep and paint. Push back and remove the cuticle from the nail plate, lightly buff off the shine, then cleanse and dehydrate, adding an acid-free primer on oily nails. Apply base and colour in thin coats, capping the free edge and curing each one.
Lay out the stones. Turn a few face up on a sheet of paper. Large stones belong on the centre line of the nail, where they sit level.
Place a bead of gel. Dot a modest bead of builder gel where the stone will sit, a little narrower than the stone and at least a millimetre from the cuticle. The stone shades the gel beneath it from the lamp, so a thick mound may stay soft.
Press the stone in. Lift a stone by its top with the pick-up tool and lower it onto the bead. Press gently until the gel rises around its edge, stopping short of the facets, then check from the side that it sits level.
Clean around it, then cure. Remove any gel that has spread past the stone with the clean brush, and lift any on the skin with the orangewood stick. Cure for the full time in your gel's instructions. Uncured gel on skin is the main cause of gel allergy: if the skin around a nail turns red, itchy or swollen, stop using the gel and see a doctor.
Seal the base, then top coat. With a detail brush and very little top coat, trace around each stone where it meets the nail, below the facets. Apply top coat to the rest of the nail, capping the free edge, and cure. Around large stones and charms, make this collar with builder gel and cure it before the top coat.
Do the cotton pad test. Drag a cotton pad over the nail. If fibres catch on a stone, lightly buff the top coat beside it, trace a fine line of top coat around the stone and cure.
Flat-backed crystals come in many sizes, cuts and tints.
Rhinestone nails: 8 designs, from the office to New Year's Eve
For a first set, try one feature stone or a short line on two or three nails, over a party colour from our New Year's Eve nail ideas.
One rhinestone at the cuticle
One stone centred at the base of each nail is the simplest design, and discreet enough for work. Apply 017 Silk, a light nude gel polish, in thin coats until the colour is even, as pale shades streak in one thick coat. Set an SS5 on short nails or an SS10 on longer ones, a millimetre or two from the cuticle.
A vertical line of tiny crystals makes short or wide nail beds look longer. Over a cured deep red or black, lay a narrow strip of builder gel down the centre of the nail, stopping halfway to the tip. Set SS3 crystals in it edge to edge, starting just clear of the cuticle. Keeping the line straight takes practice, so start with one nail per hand.
French tip nails with rhinestones
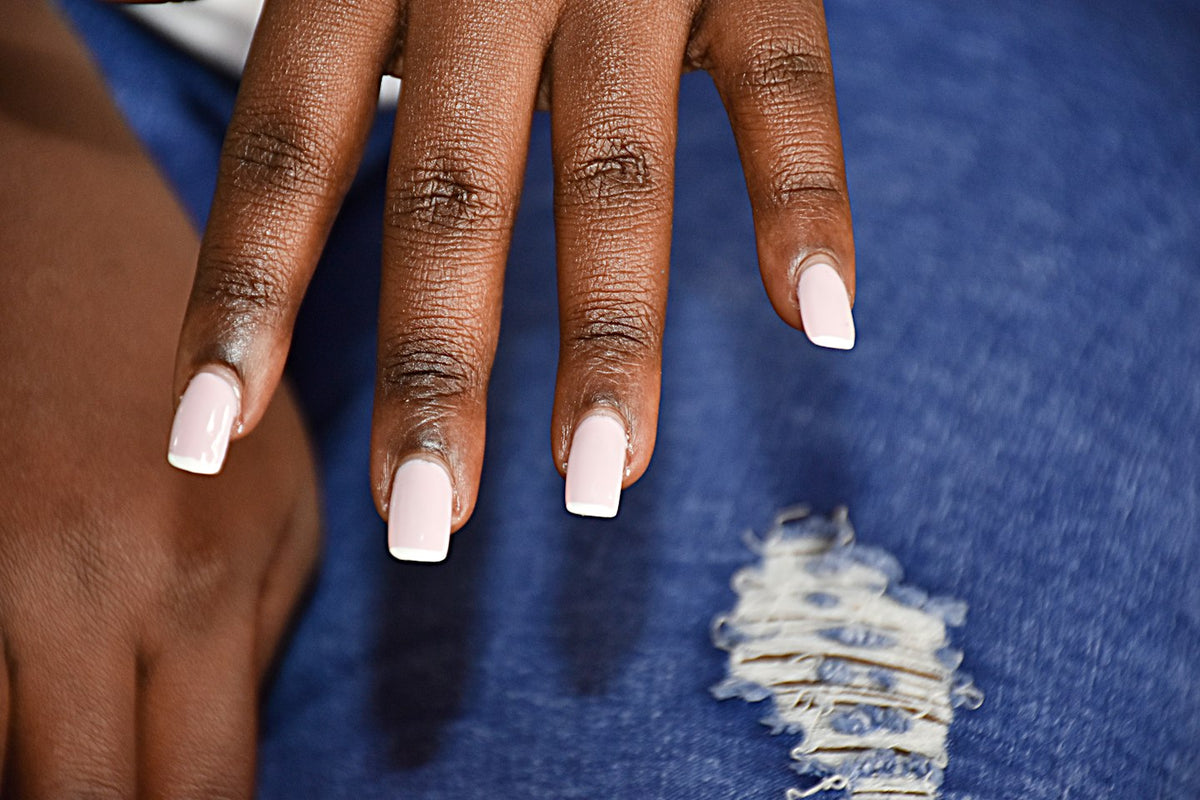
On a French manicure, set stones along the smile line, where the white tip meets the pink. A row of SS3 or SS5 stones on the ring fingers is enough, or one stone at the centre of each smile line. Stones draw the eye to any wobble, so get the line clean first: our French manicure guide shows how.
Pearl nail accents
Pearls have a satin sheen with no flash, so they suit daytime too. Choose flat-back half pearls, since a round pearl touches the nail at one point. Arrange three in a diagonal on the ring fingers, largest nearest the cuticle, over Silk for work or black for evenings. With no facets to dull, pearls can take top coat for extra hold, but sealing only the base preserves their satin finish.
Nail charms and gem clusters
A cluster groups one charm, such as a star or snowflake, with smaller crystals on a single accent nail. Place the largest piece first, nearest the cuticle, then fill the gaps with SS3 stones. A charm can work loose on thin, bendy nails, so strengthen them with a builder gel overlay, as our guide on how to use builder gel explains.
Keep big charms to the ring or middle finger, since the thumb and index finger do most of the typing and buttoning.
Cat eye nails with gems
Apply two thin coats of 001 Golden Veil, a cat eye gel polish with a soft golden glow, curing the first. Over the uncured second coat, hold the magnet at an angle for a few seconds to draw a diagonal beam, then cure straight away, one nail at a time. Add two or three small gold-toned stones in the darker corner, where they won't cover the beam. Our cat eye nails guide shows other magnet effects.
For a winter wedding, build all ten nails in B003 Milky White, a builder gel that strengthens the nails and suits an ivory dress. Finish the ring fingers with a half pearl and two tiny iridescent crystals at the base. To let the engagement ring stand out, use the middle fingers instead.
Lace and veils snag on any raised edge, so seal every stone, and do your nails two or three days ahead in case one needs replacing.
On short nails, keep stones small and flat. Over a sheer nude or Milky White, place one or two SS3 or SS5 crystals or round studs per nail, in the half nearest the cuticle. Flat studs catch least, which helps if you type all day.
How to remove rhinestones from gel nails
Never prise stones off: levering them up tears away gel and layers of the natural nail. File through the top coat and collar around each stone until it loosens, then lift it off with an orangewood stick, filing a little more if it resists. File the leftover bead flat and remove the rest as usual, soaking or filing soak-off colour and filing builder gel. Our guide to removing gel and builder gel with an e-file explains when to stop.
Frequently asked questions
Do you put rhinestones on before or after top coat?
Before the final top coat. Set the stones on the cured colour, then trace top coat around their base and over the rest of the nail, keeping the facets clear. On a finished manicure, buff the spot first so the gel can grip.
What is the best tool to attach rhinestones?
A wax pick-up pencil is the easiest: its tacky tip picks up even the smallest stones and lets go once they touch the gel. A silicone-tipped tool works the same way, and fine tweezers suit large charms.
What can you use to stick rhinestones on nails?
A thick gel such as builder gel, cured under the lamp, gives you time to position each stone and holds until removal. Top coat alone only holds the tiniest stones, and nail glue sets in seconds and must never touch the skin.
Which is better for rhinestones, hotfix or glue?
For nails, gel works better than either. Hotfix stones carry a heat-activated glue made for fabric; set them in gel like any flat-back and never use a heat tool on your hands. Nail glue grips too fast to adjust a stone.
Our builder gel collection has the transparent and milky gels used here, and our top coats seal the finished set.
Grow your own under gel or choose extensions, learn where a long nail needs its strength, then try 12 long nail designs, from a milky almond to a New Year's Eve glitter fade.
Soft gel tips give you a full set of extensions without sculpting. Learn how to size and apply them, how long they last and how to take them off without damaging your nails.
A new nail art kit holds more brushes than you need at first. This guide shows which ones to start with, how to use them with gel and how to keep them in shape.
Green is one of the easiest nail colours to wear right now. Ten ideas, from soft sage and olive to dark green and a green cat eye, and how to choose the right shade for your skin tone.