


Nail Art Brushes and Tools: Which to Choose, How to Use and Clean Them
A new nail art kit holds more brushes than you need at first. This guide shows which ones to start with, how to use them with gel and how to keep them in shape.
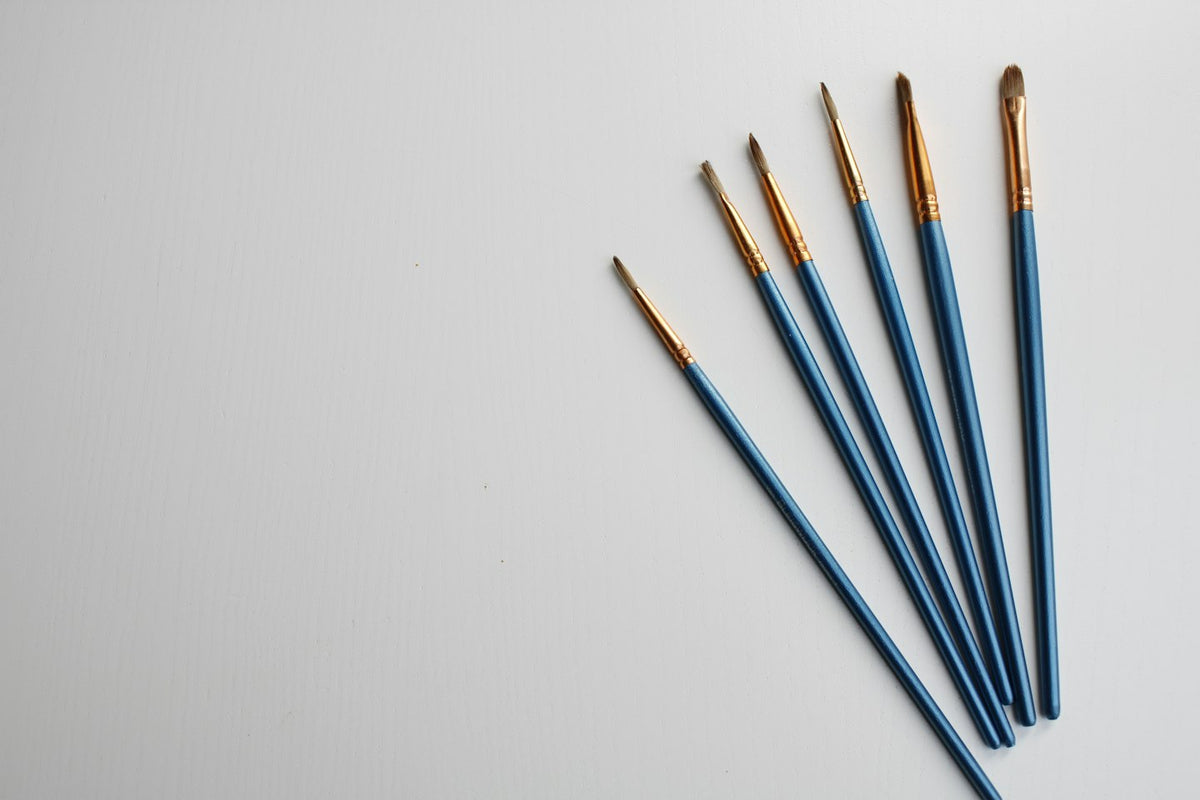
A new nail art kit holds more brushes than you need at first. This guide shows which ones to start with, how to use them with gel and how to keep them in shape.

Nail art brushes come in a handful of shapes, each designed for a different kind of stroke. To start, you need only three: a short liner for lines, a detail brush for small motifs and an angled brush for tidying edges. Add a dotting tool and you can paint most beginner designs.
If you were given a nail art kit for Christmas, this guide explains what each tool does, how to use it with gel and how to care for your brushes.
For gel, choose synthetic brushes, which keep their shape and wipe clean easily. Whatever the price, a good one comes to a sharp point and springs back after each stroke. Give each new brush a gentle tug, since one that sheds now will leave hairs cured into your nails. Sizes vary between makers, so treat the bristle lengths below as a general guide.
Long, thin bristles that taper to a fine point make the liner brush the tool for stripes, outlines, French smile lines and marble veins. Beginners usually find a short liner, with bristles of about 5 to 9 millimetres, easiest to control, as it bends less under pressure. It holds little gel, though, so reload it for each line.
Stripers, or long liners, have bristles of roughly 15 to 25 millimetres. They hold enough gel for one stroke from cuticle to tip, and their length smooths out small tremors in your hand. Stripes, tartan and geometric designs suit them best, as they're hard to steer round tight curves.

The detail brush is the shortest in most sets, with a needle-fine point. Use it for petals, the point of a heart, a tiny initial or the broken outlines of leopard print nails. It also fills small gaps between lines, where a liner would spill over the edges.
Flat brushes have a straight edge and angled brushes a slanted one, and both paint the tip of a French manicure. Lay the edge along the smile line and sweep from one corner to the centre, then from the other, so the sides meet at the same point.
Keep a small angled brush for clean-up only, narrow enough to fit the corners of your smallest nail. Its pointed corner reaches into the sidewalls and along the cuticle, where gel most often touches the skin.
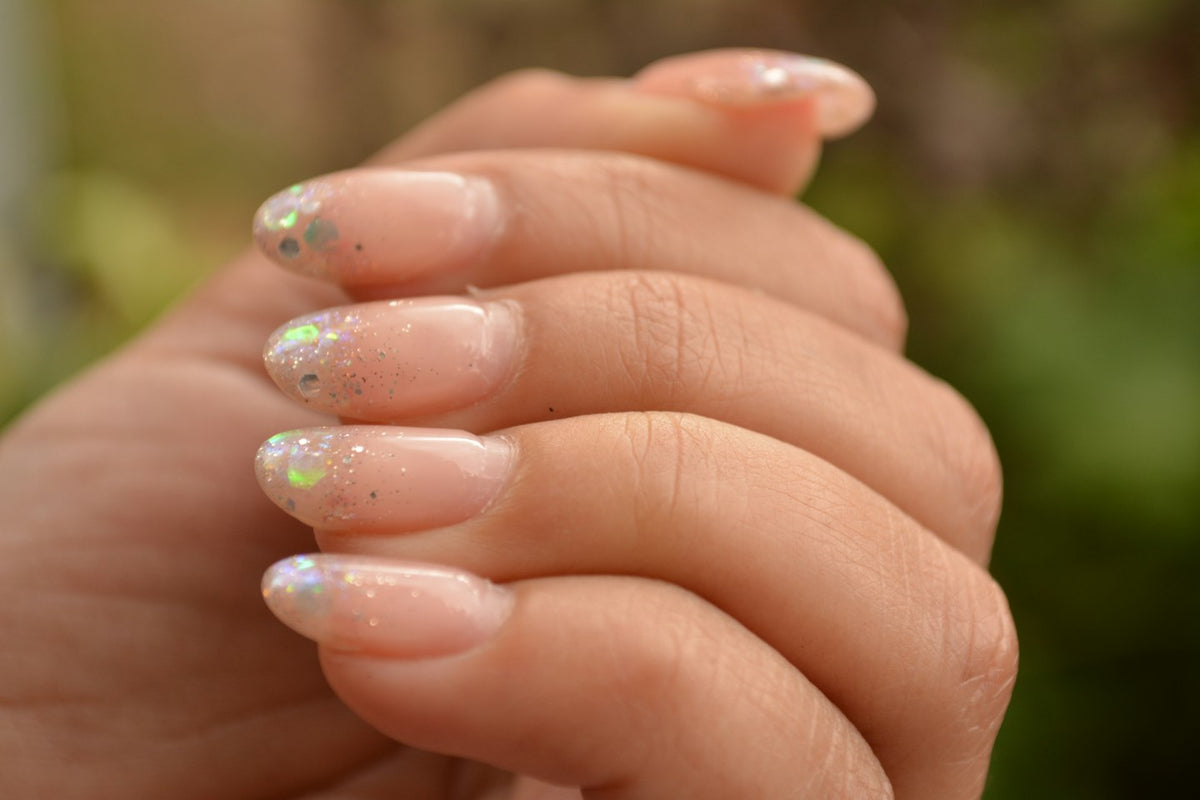
A fan brush is mostly used for glitter fades: dab a little glitter gel along the free edge, then more lightly towards the cuticle, and cure before sealing it under top coat. Swept lightly across the join between two uncured colours, it also softens an ombre.
Brush sets rarely include the supplies that keep nail art clean: foil for a drop of gel, lint-free wipes and gel cleanser. Place the foil away from the lamp and sunny windows, where gel starts to set, and avoid cotton pads, which leave fibres in the gel.
A double-ended dotting tool with a small and a medium ball covers polka dots, daisy petals and hearts. Switch to the larger ball for a bigger dot, since pressing harder only squashes it.
Dip the ball once for every dot so the dots match, and wipe it every few dots before built-up gel makes them grow. Hold the tool upright, touch the nail and lift straight off. For graduated dots, step down a ball size with each dot, still dipping once per dot. A short row from a single dip also works, as each dot takes a little less gel than the last.
A small wedge of make-up sponge makes gradients, from ombre nails to the nude-to-white baby boomer fade. Dab the gel on in two or three thin layers, curing each. Sponging gets gel on the skin, so paint a peel-off barrier around the nail first, then peel it away and clean off any stray gel before curing.
From a new kit, take out the short liner, detail brush, small angled brush and dotting tool, and put the rest away. These four cover the lines, dots, hearts and French tips behind most of our 30 gel nail art ideas.
Practise on clear tips or a practice wheel first, so you learn how much gel each tool needs without redoing a manicure. Give the tips two thin, cured coats of 021 Cloud, a sheer milky white, then fill them with lines, curves and dots in 001 Black, an opaque black. Black on a pale base shows up every wobble.

Once your lines are steady, try a first set over your usual prep and base. Paint eight nails with two coats of Cloud and pull one fine black stripe down each, slightly off-centre so a small drift doesn't show. Make the ring fingers solid gold accent nails in B030 Or Solaire, a golden builder gel. Like any builder gel, it suits solid colour rather than line work and is removed by filing. Seal every nail with Diamond Top Coat, a no-wipe, high-shine top coat, capping the free edge.
Немає в наявності
Gel stays liquid until it's cured, so an overloaded line keeps spreading.
Clean up each nail before curing, while the gel can still be moved. Dip the angled brush in gel cleanser and blot it until just damp, since a dripping brush floods the colour. Run it along the edge you want to sharpen, wiping it after each stroke. The same move gives beginners an easy French: paint the tip roughly, then carve the smile line with the brush.
Lift any gel that touches the skin the same way, as uncured gel on skin is the main cause of gel allergy. If redness, itching, swelling or blisters appear around your nails, stop using the product and see a doctor.
Any gel left in a brush hardens in daylight and under the lamp, and a stiff brush rarely recovers. Clean every brush between colours and after each session.
Never rinse gel brushes in water, which doesn't dissolve gel and leaves moisture to mix into your next coat, and use acetone only if the maker allows it. Use a separate liner for pale shades, since black pigment lingers in the bristles and turns white grey.
Dots, taped lines and gradients need only household items, as our simple nail designs for beginners show. Long, fine lines are harder to fake, so a short liner is the first brush worth buying.
The best nail art brushes for gel have synthetic bristles that hold a sharp point and don't shed. Three shapes cover most designs: a short liner, a detail brush and a small angled brush for clean-up.
Any fine synthetic brush that keeps its point and doesn't shed will work, including artist's brushes from an art shop. Dedicate them to gel, so no paint or water ends up in your manicure. Make-up brushes are too soft for lines, though a small angled eyeliner brush makes a good clean-up brush.
Only if the brush maker says it can take acetone, which can otherwise damage the bristles and the glue that holds them. For gel, a lint-free wipe with cleanser is enough.
Gel left in the bristles has cured, usually because the brush was left uncapped near a lamp or window or wasn't wiped thoroughly. If the gel is only tacky, a wipe with cleanser may free it, but a brush that has fully set needs replacing.
A black and a milky white from our gel polish collection are all you need to start practising.
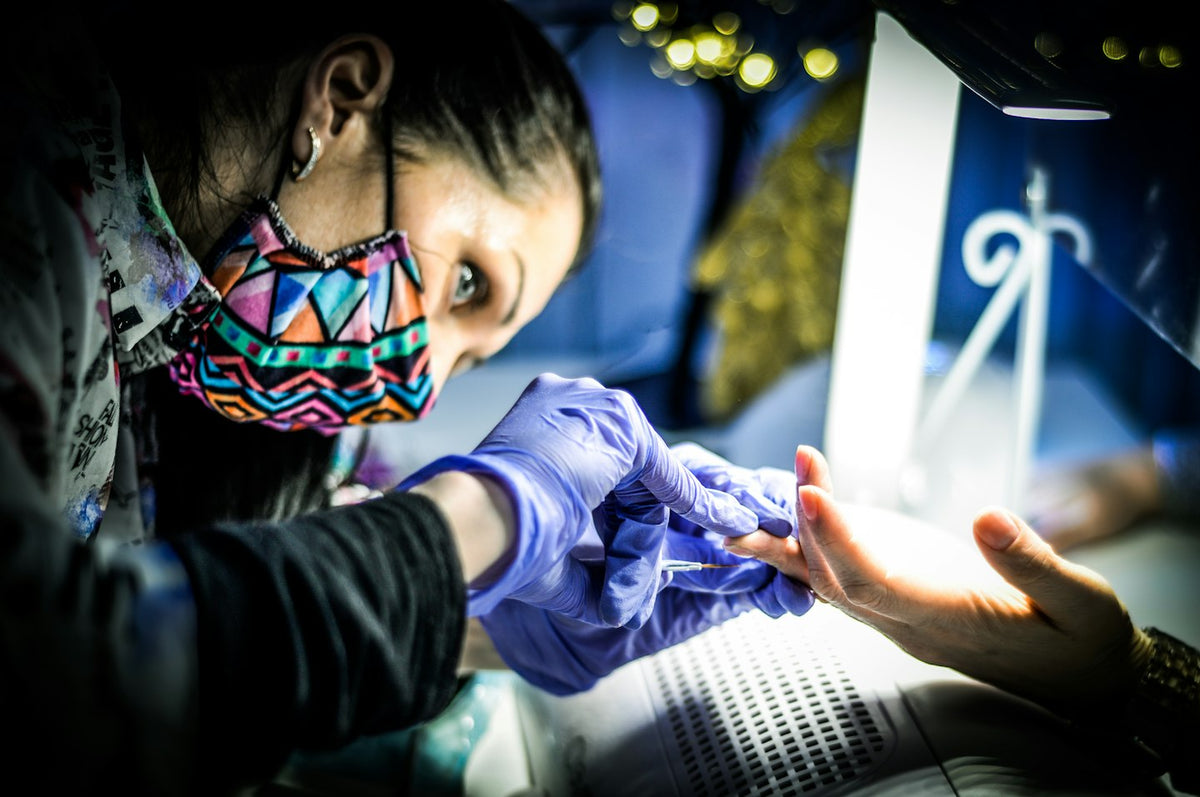
Gel Nail Allergy: Symptoms, Causes and How to Avoid It
Itching or redness around your nails hours or days after a gel manicure can be a sign of allergy. This guide explains why it develops, what to do if your skin reacts and how to prevent it.
10 хв читання
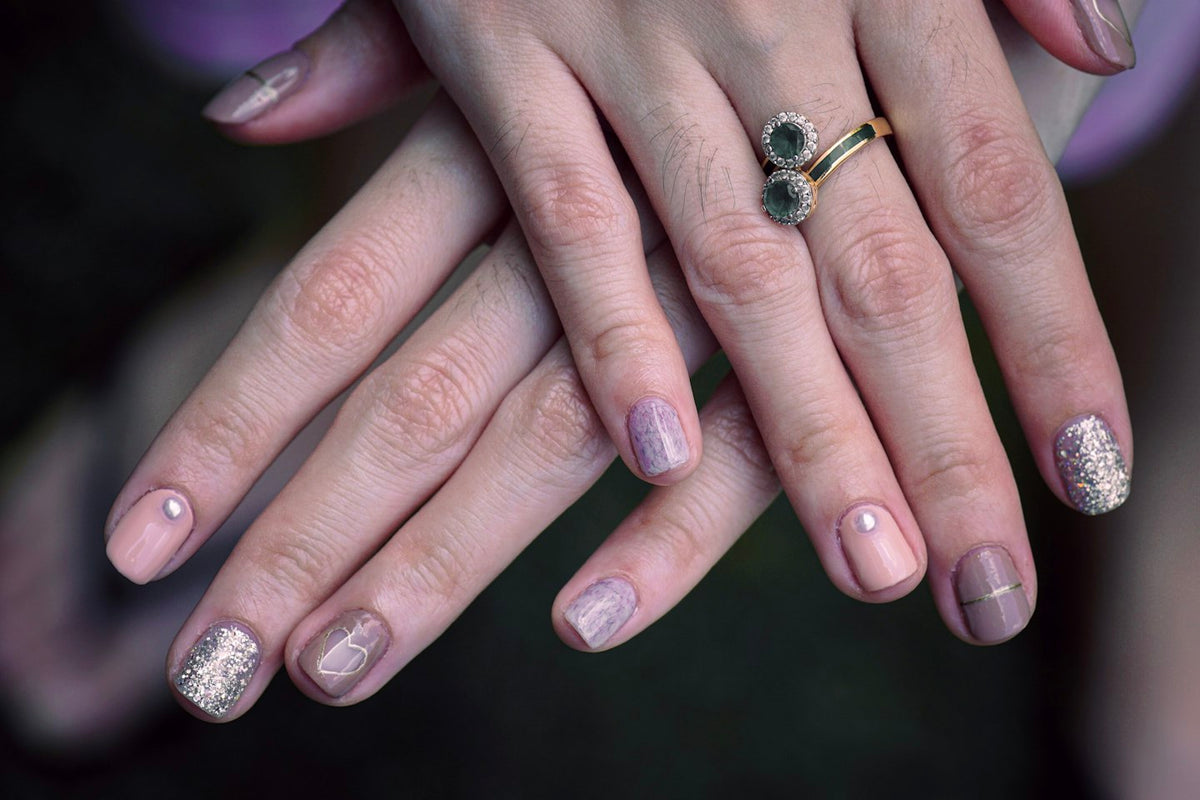
Builder Gel vs Hard Gel: The Differences, and Where Soft Gel Fits In
Builder gel or hard gel? How the two structure gels differ in strength, flexibility and removal, where soft gel and rubber base fit in, and which one to choose.
10 хв читання
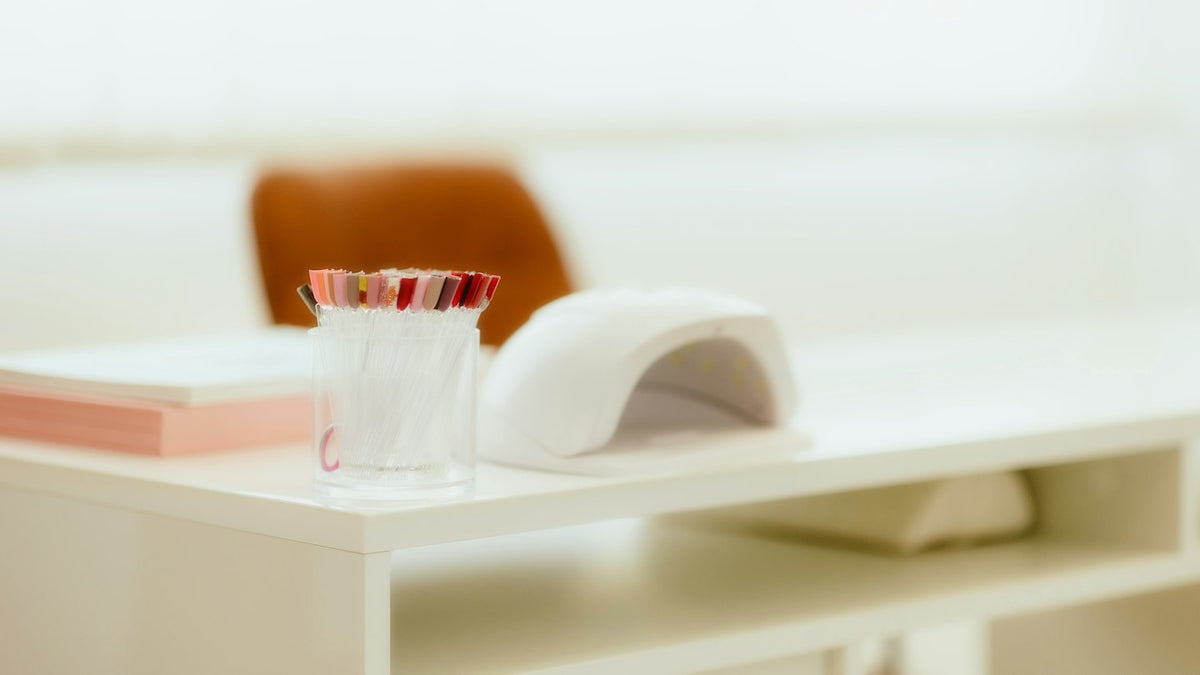
Лампа для манікюру: УФ чи LED, яка краща й скільки сушити гель-лак?
Більшість ламп для манікюру сьогодні гібридні, UV/LED. Дізнайтеся, чим вони відрізняються від УФ- і LED-ламп, на що зважати перед покупкою, скільки сушити гель-лак і чому в лампі іноді пече.
9 хв читання
Gel Top Coat and Base Coat: What Each Layer Does and How to Choose
The base coat makes gel grip your nail; the top coat seals in the colour and adds shine. Which type of each to choose, how to apply them and how to fix a top coat that turns dull or sticky.
9 хв читання
Free delivery from 1.150 Kč
Shipped from Nice, France
Prepared in 1 to 2 business days
For orders placed before 2 pm, Paris time
Повернення протягом 14 днів
From the day you receive your order
Безпечна оплата
Encrypted checkout
Not sure which shade or product to choose? Talk it through with one of our nail experts.
Book my consultationNail tech, salon or distributor? Join the Elegelli professional programme for pro pricing.


