On Saturday, October 17 at 11:59 PM ET, Elegelli stops taking orders from the United States. No date to reopen.
00Days
00Hours
00Min
00Sec
Only 9 cordless drills left
New US import controls on cosmetics change how we can ship to you. Order now to make our final US shipments. Duties included, no surprise fees at your door.
Rubber Base Gel: What It Is, How to Apply It and How Long It Lasts
Rubber base smooths ridges, flexes with weak nails and can be worn alone for sheer, natural nails. How to apply it without flooding the cuticles, how long it lasts and how to remove it safely.
by Anastasia Kovalenko
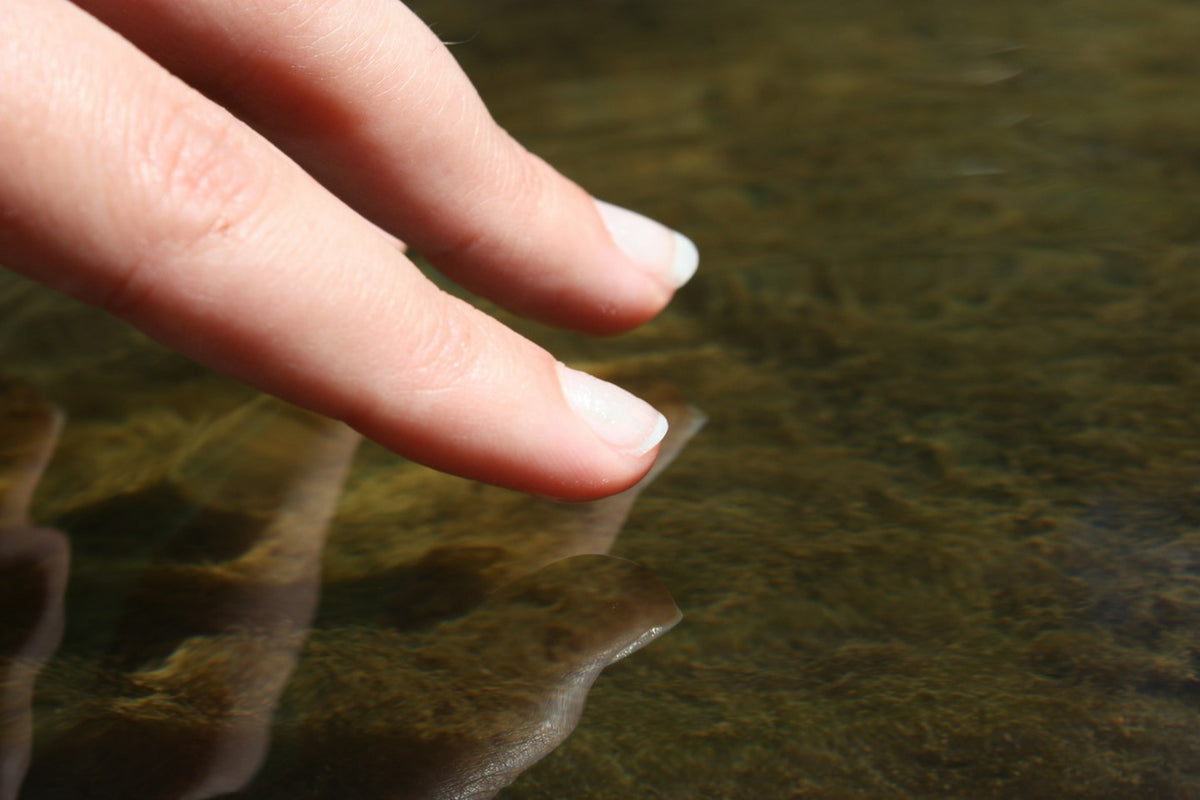
Fingers with natural, glossy pale nails touching the surface of water
Rubber Base Gel: What It Is, How to Apply It and How Long It Lasts
A rubber base is a flexible base gel that levels itself on the nail, filling small ridges as it settles. It bonds well and adds a little strength to weak, bendy nails, and you can wear it under gel polish or on its own with a top coat.
This guide shows how to apply, wear and remove it without flooding the cuticles or thinning the nail, and how it compares with builder gel.
What is rubber base gel?
Rubber base is a base gel with a thicker texture than a standard base coat. It flows off the brush like runny honey and settles without brush marks, so it can go on generously enough to fill ridges and support the nail where it flexes. The name comes from how it behaves once cured: it stays slightly elastic and bends with the nail without cracking.
As a base under gel polish. It gives the colour a smooth, level surface, which matters most with pale and sheer shades, where ridges show through. Let it fill the ridges rather than buffing them flat, which only thins the nail.
On its own, as a sheer manicure. Under a top coat, a clear or tinted rubber base gives neat, natural nails that last as long as gel polish, and the regrowth barely shows.
As a strengthening layer on short nails. It protects the free edge of nails that bend, peel or split while they grow. That includes bitten nails, as long as the skin around them isn't broken.
How to apply rubber base, step by step
Apply rubber base in two layers: a thin one scrubbed in for grip, then a fuller one floated on top. Roll the bottle between your palms rather than shaking it, as thick gel traps air bubbles. Until you feel confident, apply and cure one or two nails at a time, and cure the thumbs separately, laid flat.
Prep the nail. Push back the cuticles and lift off the dead skin stuck to the nail plate, then shape the nails and lightly buff away the shine. Brush off all the dust, which would show through a clear base.
Cleanse and prime. Wipe each nail with Prep Booster, so the gel goes onto a clean, dehydrated surface. On oily nails, or wherever gel tends to lift, brush Acid-Free Primer onto the nail plate only and let it air-dry.
Scrub in a thin first layer. Wipe most of the gel off the brush and work it into the nail with short strokes, leaving a hairline gap at the cuticle and sidewalls. Cap the free edge, clean any gel off the skin, then cure under a UV/LED lamp for the time given in the instructions.
Float the second layer. Place a small bead of gel in the centre of the nail. With the bristles barely touching, guide it towards the cuticle, stopping just short of the skin, then out to the sides and down to the tip. Cap the edge again.
Let it level, and form a small apex if needed. Give the gel a few seconds to settle. For extra strength, turn your hand over briefly so gravity draws the gel into a gentle rise, the apex, over the centre of the nail. Turn your hand back, check from the side that the gel is thinnest at the cuticle and tip, clean the skin and cure straight away.
Add colour or a top coat. For colour, leave the sticky layer on and carry on as for a standard gel polish manicure at home: two thin coats of colour, then a top coat, curing each one. To wear rubber base alone, finish with a no-wipe top coat such as Diamond Top Coat, capping the edge before curing.
With the nail facing up, gravity pulls a self-levelling gel towards the sidewalls, which is why rubber base floods so easily. Check the cuticle and sides before every cure, and lift any stray gel with a clean-up brush. Gel cured on the skin makes the manicure lift, and repeated contact with uncured gel is the main cause of gel allergy.
Rubber base is usually the better choice for short nails that bend or peel, and builder gel for nails past the fingertip or nails that break at the sides. The more fluid and flexible of the two, rubber base levels into a thinner coat and is easier to learn.
Builder gel is thicker and more rigid, so it can hold a proper apex, repair splits and add length on forms or tips. A milky shade such as B003 Milky White also blurs ridges and an uneven free edge.
With careful prep, a rubber base manicure lasts two to three weeks, like gel polish. Clear and peach bases grow out discreetly, which makes it tempting to keep them on longer. As the nail grows, though, the apex moves towards the tip and the nail becomes more likely to break or lift.
After three weeks, an infill is often kinder to the nail than a full removal. File the old product back to a thin, even film and take any lifted patch off completely, since gel laid over a lift traps water. Then prep the regrowth and apply fresh rubber base over the whole nail.
How to remove rubber base
Most rubber bases are filed down, since a thick, flexible coat takes a long time to soften in acetone. Whether yours can be soaked off at all depends on the product, so check its instructions first. Never peel off a lifted edge: it takes the top layers of the nail with it.
With a medium file, take off the top coat and any colour, then reduce the rubber base to a thin film. Soak off the rest if the product allows it, or buff the last film away so the file never touches the natural nail.
A tinted base shows you how much is left, because the peach fades as it gets thinner. With a clear one, switch to the buffer earlier and check the nail under a bright light. Technicians can work faster with a nail drill, as our guide to removing gel with an e-file explains.
Natural rubber base nails: clear, peach and micro French
Clear rubber base nails
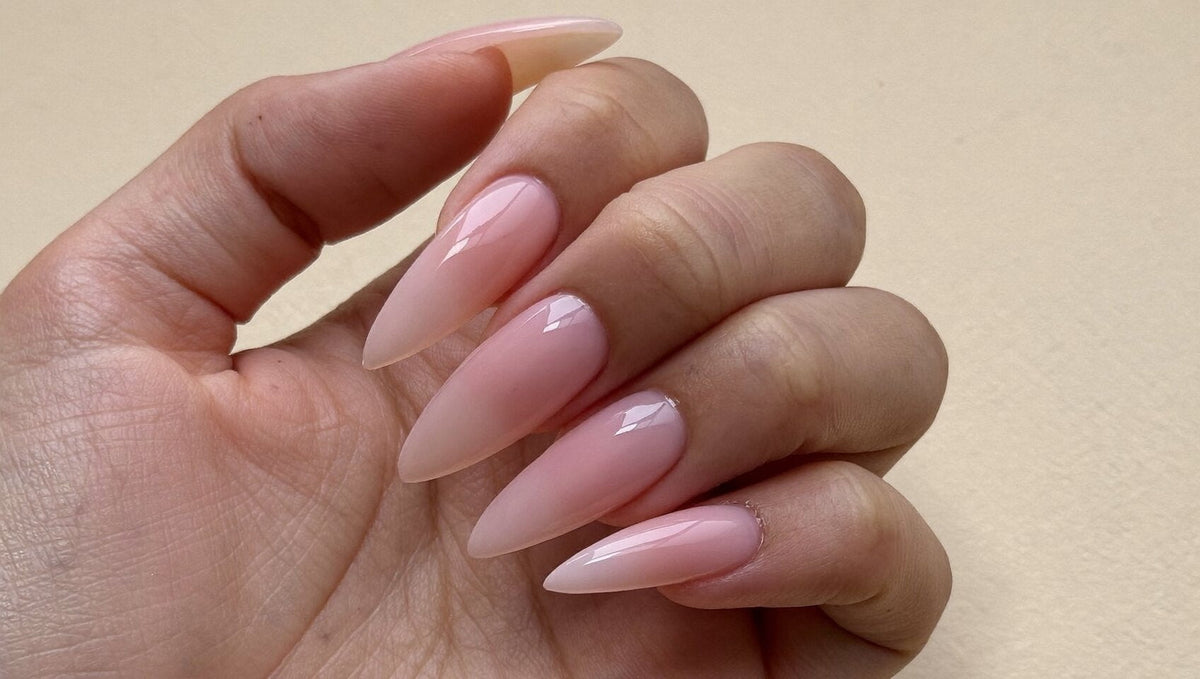
Two layers of RB01 Rubber Base Transparent under Diamond Top Coat give bare nails a smoother, glossier surface and a little more strength. It's a good option for job interviews, a two-week holiday or a break from colour. With nothing to hide the nail, prep has to be spotless, because a missed patch of cuticle or a speck of dust stays visible for three weeks.
Worn alone, a clear rubber base gives bare nails a smooth, glossy finish.
Peach rubber base nails
A coloured rubber base evens out the nail bed and reduces the contrast between the pink nail and its white free edge. The warm peach of RB04 Peach Rubber Base flatters golden and olive undertones and sits well with gold jewellery. On very cool, pink-toned skin, try it on one nail first, as peach can look slightly orange.
With a tinted base, the depth of colour follows the thickness of the gel. Keep the apex low and the floated layer even, or the centre will be darker than the sides. Clean up any gel pooling along the sidewalls too, as it would cure as a darker line. For more coverage, add a third fine layer.
Rubber base French manicure
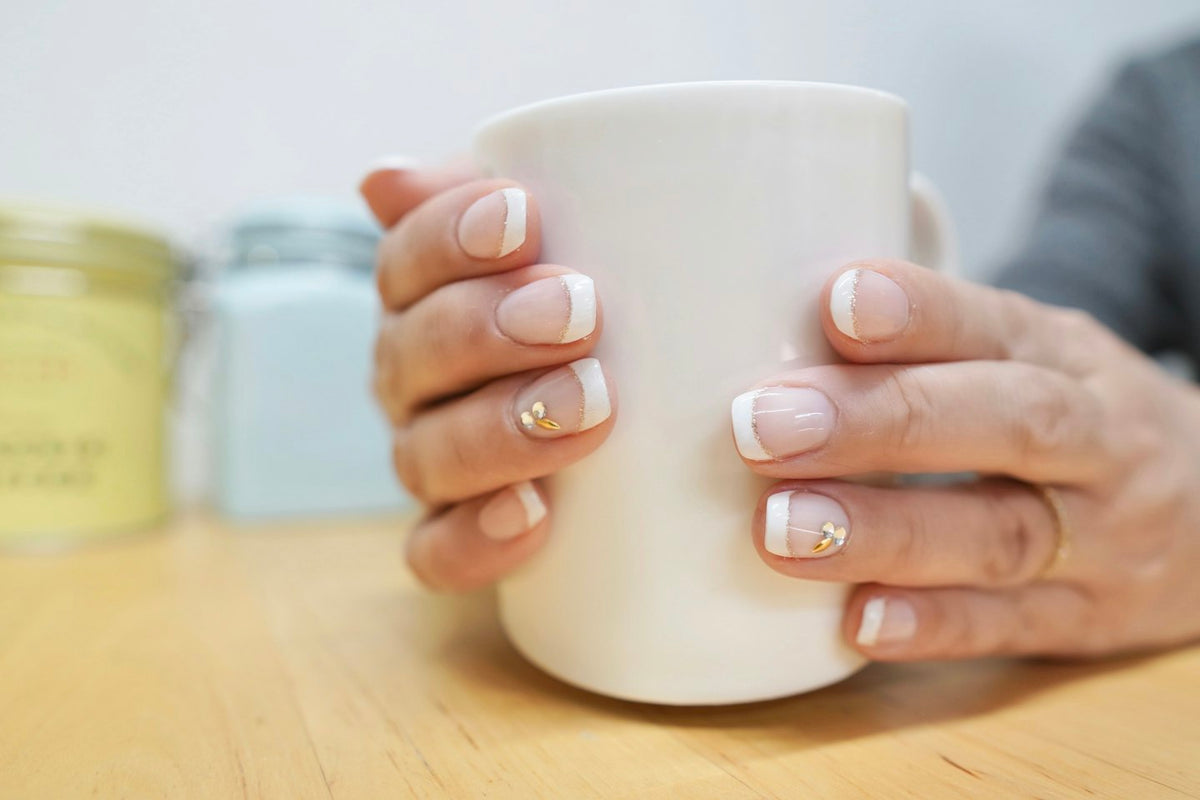
A micro French is a white line about a millimetre wide along the free edge, painted over a clear or peach rubber base. On short nails, a fine line leaves more of the nail bed on show, so the nails seem longer than with a deep tip.
Once the second layer is cured, paint the line with a fine liner brush and an opaque white gel polish. Neaten the inner edge with a flat brush dipped in gel cleanser, cap the tip and cure, then seal with top coat. For a blurred tip, paint the line over the first layer instead, cure it and float the second layer of peach base over it. Our modern French manicure ideas include milky and baby boomer versions.
Too much gel at the cuticle. A thick edge near the skin lifts first and shows more as the nail grows. Place the bead in the centre and pull only a thin film back towards the cuticle.
An uncapped free edge. Water gets under an unsealed tip and the gel chips, especially on bendy nails. Run the brush along the edge with every layer, top coat included.
Rushed prep. Even a rubber base can't bond to dead cuticle, oil or a shiny, unbuffed nail. Lifting at the cuticle in the first few days usually means cuticle was left on the nail plate.
One heavy layer. A thick coat can cure on top and stay soft underneath, and it may heat up in the lamp. Build it up in two layers, and if a layer feels hot, slide your hand out for a few seconds before finishing the cure.
Rubber base runs into the cuticles easily until you learn how much gel to load, and it's slower to remove than gel polish, usually by filing. It can't support long nails or repair breaks, and on strong, smooth nails it adds thickness they don't need.
Is rubber base healthy for nails?
Used correctly, rubber base won't damage your nails, and it protects weak nails while they grow. Damage comes from over-buffing, peeling off lifted gel or over-filing at removal. The main health risk is an allergy caused by repeated skin contact with uncured gel. If redness, itching, swelling or blisters appear around the nails, stop using gel and see a doctor or dermatologist.
What type of gel is healthiest for nails?
For natural nails, the gentlest gels are thin, flexible ones that move with the nail, such as gel polish and rubber base. Gel polish is also the easiest to remove, since it soaks off in acetone. Hard gel is rigid and has to be filed off, which makes it the least forgiving choice at home.
Can you use rubber base without a top coat?
No. Rubber base generally cures with a sticky layer and a softer surface than a top coat, so on its own it scratches and dulls quickly. Always finish with a top coat.
Start with a clear or peach shade from our rubber base collection, and move on to our builder gels when your nails need more structure.
Greige for the office, a misty green-grey, charcoal and a silver cat eye for December: 10 grey nail designs with the steps to recreate them, and how to find the grey that suits your skin.
Square nails keep the full width of the nail, so they're strong and made for French tips. Learn to file corners that don't snag, then choose one of 15 designs, from a micro French to long extensions.
Gel polish should last two to three weeks. If yours lifts or peels after a few days, the prep is almost always to blame. Here's what goes wrong and how to fix it.
No tip, no fixed shape: a length of gel sculpted over a simple form. How to fit the form, build the apex and avoid the mistakes that make extensions lift or break.