


Polygel vs Builder Gel: Differences, Pros and Cons, and Which One for Which Client
An honest comparison of polygel and builder gel for nail techs: how each one is applied and removed, how they wear, and which one to choose for each client.

An honest comparison of polygel and builder gel for nail techs: how each one is applied and removed, how they wear, and which one to choose for each client.

Polygel vs builder gel comes down to the job on your desk. Polygel is a thick acrylic-gel hybrid that you shape with slip solution and file off: it holds whatever form you give it, which makes it handy for sculpting length. Builder gel is a UV/LED gel that you float into place with a brush; a self-levelling one settles into a smooth layer and a soft apex with less filing, which makes it the faster choice for overlays on natural nails and for infills. A word of honesty first: Elegelli makes builder gels, not polygel, so we've tried to be fair about where polygel does the better job.
Our pick

A natural milky white, self-levelling builder gel in a 30 ml pump jar. HEMA-free and TPO-free, made in France, with a smooth consistency that makes shaping precise and controlled: the gel we'd reach for first for overlays and infills.
Here is how the two systems compare on the points that change your service.
| Criterion | Polygel | Builder gel |
|---|---|---|
| What it is | A hybrid of acrylic powder and gel, with a putty-like texture | A thick UV/LED gel, from self-levelling to firm |
| How you shape it | Pressed into shape with a brush dampened with slip solution | Floated with a brush; a self-levelling gel smooths itself |
| Strength and flexibility | Strong and fairly rigid | Strong, with a little flex |
| Smell | Mild; the slip solution smells of alcohol | Mild, with no liquid monomer |
| Removal | Filed off | Filed off or soaked off, depending on the formula |
| Learning curve | Easy to sculpt length, harder to keep an overlay thin | Easy for overlays once you control the bead |
| Best for | Extensions on forms or dual forms | Overlays, infills, repairs and short extensions |

Polygel, also sold as acrylic gel or acrygel, combines acrylic powder and gel in one thick product that comes in a tube. You squeeze out a small amount, then press and pat it into shape with a brush dampened with slip solution, an alcohol-based liquid that stops the product sticking to your tools.
Because it's putty-like, polygel stays where you put it until you cure it under a UV/LED lamp. That makes it forgiving when you build a free edge from nothing, especially with dual forms. The trade-off is the finish: polygel doesn't level on its own, so the smooth surface and the apex come from your brush and your file.
Builder gel is a thicker gel made to add strength and shape, cured under a UV/LED lamp. You apply a thin slip layer, then place a bead and guide it across the nail; the apex forms as the gel settles. Formulas range from very self-levelling to firm enough to sculpt on a form.
Every Elegelli builder gel is self-levelling, HEMA-free and TPO-free, made in France and sold in a 30 ml pump jar, in 36 shades. Our step-by-step builder gel guide covers the method, and our guide to the best builder gel for nail techs explains how to choose one.
With polygel there's no time pressure, because nothing sets until it goes under the lamp. But slip solution is a skill in itself: too little and the product drags, too much and it turns gummy. A self-levelling builder does part of the work for you: the surface smooths itself and you file less afterwards. The flip side is that a runny gel keeps moving, so you cure one nail, or a few, at a time.
Polygel cures harder and stiffer, closer to acrylic. That rigidity helps a long free edge keep its shape, but on a thin, bendy natural nail a rigid layer can't follow the nail, and the bond breaks. Builder gel keeps a little flex, so it moves with the nail instead of fighting it. That's why it's the usual choice for strengthening overlays on weak, peeling or splitting nails. On very soft nails, add a thin layer of Rubber Base RB01 under the builder: a clear, HEMA-free, self-levelling base that cures in 60 seconds under an LED lamp.
Removal. Polygel is filed off. Builder gel depends on the formula: some soak off, many are filed, so check the instructions of the one you use. In both systems, an infill is a reduction, not a full removal. Our guide to removing gel and builder gel with an e-file covers both.
Smell. Neither system uses the liquid monomer that gives acrylic its strong odour. If smell is why a client wants to leave acrylic, both are an option: our comparison of builder gel vs acrylic goes into the details, and our guide to gel vs acrylic nails covers the wider family.
Learning curve. Techs who come from acrylic often find polygel familiar: pick up, press, shape. Techs who come from gel polish usually find builder gel easier. The hard part of polygel is dosing the slip solution; the hard part of builder gel is the size of the bead.
| Client | Better choice | Why |
|---|---|---|
| Weak, peeling or splitting nails, wants her own length | Builder gel overlay | A little flex follows the nail, and the layer stays thin and even |
| Regular infill client | Builder gel | Easy to reduce and rebalance, and the new gel blends with the old |
| Short nails or a nail biter, wants length | Polygel on dual forms, or builder gel on forms | Polygel holds its shape; a firm builder also works on forms |
| Thin, bendy nails | Builder gel over a rubber base | A flexible layer underneath moves with the nail |
| Wants a sheer, milky or natural finish | Builder gel | An even, glossy colour without heavy filing |
For length without sculpting, see our guide to soft gel tips; for sculpted length in gel, our guide to gel extensions on forms shows the technique.

For sculpting length from scratch, many techs prefer polygel. But most of a salon's week is overlays on natural nails and infills, and that's where a self-levelling builder saves time.
Weighing builder gel against plain gel polish too? Our comparison of builder gel vs gel polish explains what each one adds.
It has to be filed off, and it doesn't self-level, so a smooth surface and a thin overlay take more filing. Slip solution takes practice to dose, and its rigidity suits extensions better than thin, bendy natural nails.
For an overlay, yes, but it isn't the easiest tool for the job: you shape the apex by hand and refine it with a file. For thin overlays and infills, a self-levelling builder gel is quicker. Don't layer one over the other unless the manufacturer says they're compatible.
Not by nature. What damages nails is aggressive prep, over-filing, product on the skin and peeling, whatever the system. Since polygel is always filed off, careful removal matters even more. Check the formula too: every Elegelli builder gel is HEMA-free.
The thinnest gel that does the job and comes off without force. A HEMA-free builder, kept off the skin and cured fully, reduces the main allergy risk. Our guide to gel nail allergy explains why.

Ready to move your overlays and infills onto builder gel? Start with the Milky White Finish Kit: Milky White builder gel for a strong, balanced structure and Diamond Top Coat for a glass-like, no-wipe shine designed to stay glossy for up to 3 weeks. Then build your shade range from our builder gel collection.
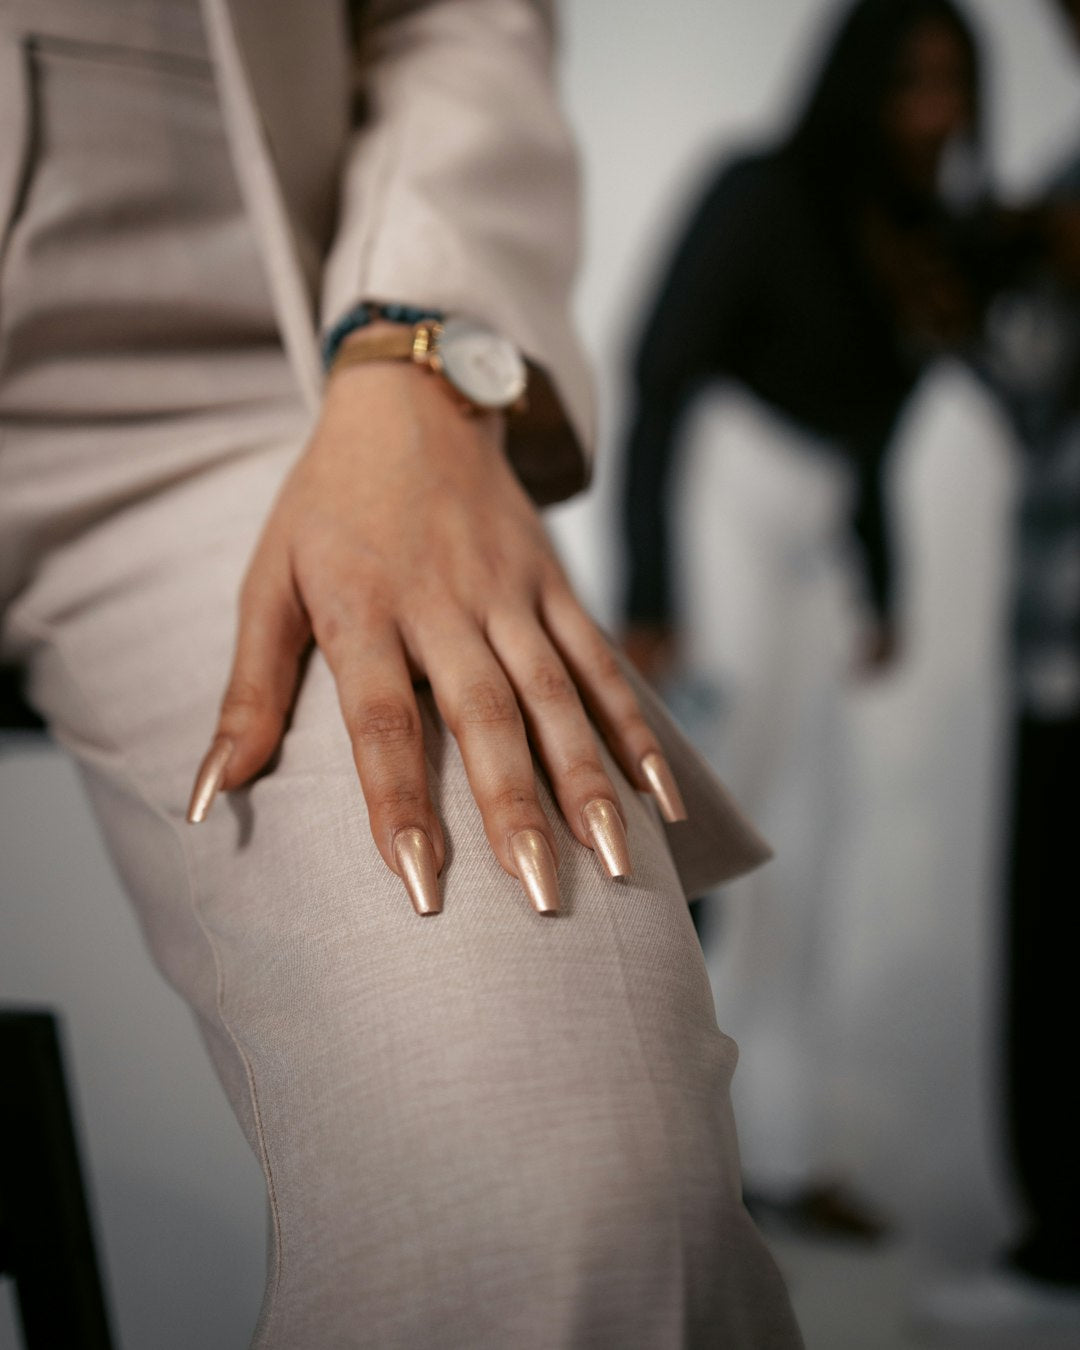
Chrome Nails: How to Apply Chrome Powder, Plus 12 Chrome Nail Designs
How chrome powder turns gel into a mirror, how to seal it so the tips don't chip, and 12 chrome nail designs, from silver and gold to pearl glaze and powder-free metallics.
10 min read

Almond Nails: 15 Almond Nail Designs, from Short to Long
Fifteen almond nail designs, from micro French tips to a golden cat eye, each with the shades and steps to recreate it, plus how to file a neat almond at any length.
10 min read

Builder Gel Fill: How to Do an Infill Step by Step, for Nail Techs
When a builder gel set is ready for an infill, how to reduce the old gel with an e-file, re-prep the regrowth and rebuild the apex, and when to remove it.
8 min read

Why Is My Builder Gel Lifting? 8 Causes, How to Fix Them, and How L…
Where builder gel lifts tells you why. The 8 causes of lifting, how to fix a nail that has already lifted, and the prep routine that prevents it.
7 min read
Free delivery from 250 lei
Shipped from Nice, France
Prepared in 1 to 2 business days
For orders placed before 2 pm, Paris time
14-day returns
From the day you receive your order
Secure payment
Encrypted checkout
Not sure which shade or product to choose? Talk it through with one of our nail experts.
Book my consultationNail tech, salon or distributor? Join the Elegelli professional programme for pro pricing.


