


Encapsulated Nails: How to Seal Glitter, Dried Flowers and Foil in Builder Gel
Glitter, dried flowers and foil sealed inside builder gel under a smooth, glossy surface: the method, the mistakes to avoid and ten designs to recreate.
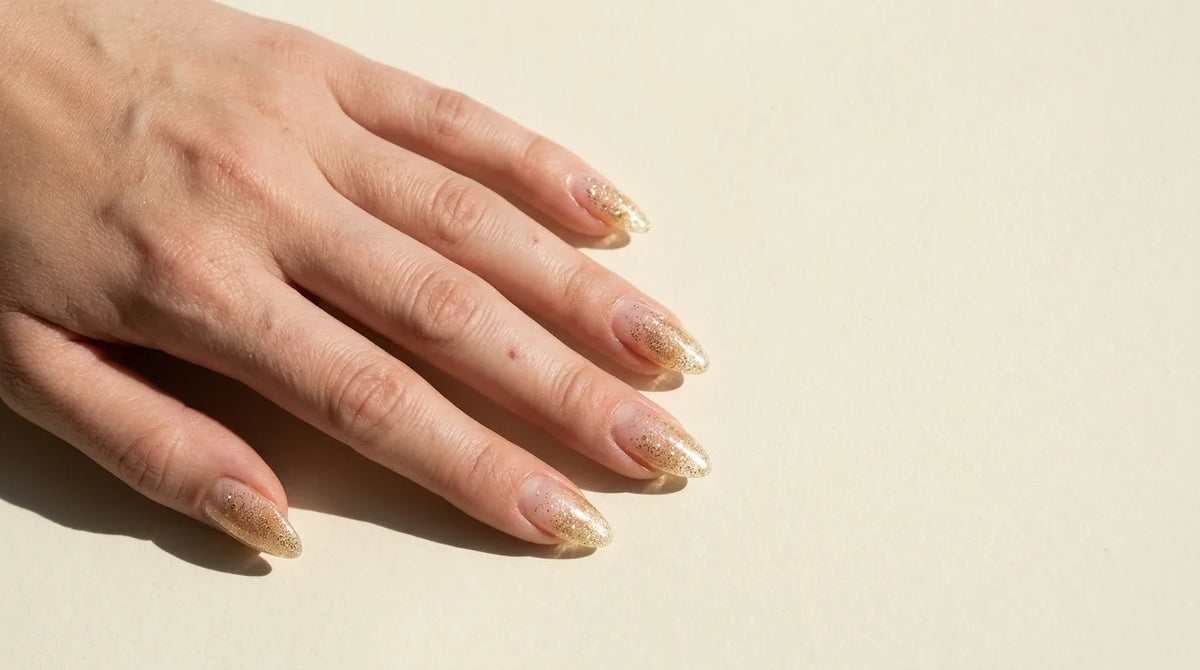

Encapsulated nails have their decoration, such as glitter, dried flowers or foil, sealed inside the gel instead of on top, so the surface stays completely smooth. The decoration lies on a thin bed of clear gel, a self-levelling layer of builder gel covers it, and the nail is filed and finished like any builder gel set.
This guide covers why builder gel is used, what can go inside it, the method, common mistakes, infills and removal, then ten designs to recreate.
With ordinary nail art, glitter or a flower is set on the cured colour and sealed with top coat, so its edges can still catch on hair and knitwear. With encapsulation, the decoration sits inside the nail's structure, protected by clear gel below and above it and finished with a filed, glossy surface. The method relies on a good apex, so practise on tips or on one or two nails first.
Builder gel is thick enough to cover a decoration and levels out around it, so the surface stays flat instead of following every flake. It also builds the apex, the slightly higher area over the stress zone that keeps a longer nail strong. A top coat can seal fine glitter, but covering a dried flower would take many layers, each one a risk of wrinkling.
Elegelli builder gels are self-levelling and cure in 60 seconds under LED or 120 seconds under UV. They list no HEMA in their ingredients and use TMO, a different photoinitiator from TPO. For the clear layers, B025 Poussière de Diamant is transparent with a subtle shimmer, so the decoration stays clearly visible. Underneath, RB01 Transparent, a crystal-clear rubber base that is HEMA-free and TPO-free, gives natural nails a smooth foundation. If apex building is new to you, start with our guide on how to use builder gel.
Anything thin, dry and flat can go inside the gel. Elegelli does not sell decorations; nail art suppliers do.
Leave out anything wet, oily or not fully dry, and anything too thick to cover without a hump. Paper and fabric soak up gel unevenly, and pointed stones push through the cover.

One cover layer is enough for fine glitter or foil, while a dried flower or chunky glitter usually needs a second, so the file never reaches it.
On a form or a tip, build the extension in clear builder gel, cure it and file the rough shape first. The decoration then goes onto this clear structure in the same way, and a final layer builds the apex over the whole length. Our guide to gel nail extensions on forms shows how to fit the form.
Clean any gel from the skin before every cure, because uncured gel on the skin is the main cause of gel allergy. If redness, itching, swelling or blisters appear around the nail, stop using the product and see a doctor.
A fingernail grows about 3 millimetres a month, so the design moves slowly towards the tip as a gap opens at the cuticle. Elegelli builder gels wear for 28 days and more without lifting when applied correctly, so an infill after three to four weeks is usual. Thin the old product without reaching the decoration, then fill the gap and rebuild the apex, as our builder gel infill guide explains. A fade from the tip hides regrowth best, while a design placed near the cuticle moves visibly towards the tip with each infill and is usually redone after a few months.
Encapsulated nails are filed off, never soaked or peeled, since peeling tears away layers of the natural nail. File down the top coat, the cover and the decoration by hand or with the Professional Cordless Nail Drill, which takes standard 2.35 mm bits of any brand (bits are not included). Leave a thin layer of base and finish lightly by hand. Our guide to removing gel nails with an e-file covers bits and technique.
Dense near the free edge and thinning towards the middle, a glitter fade suits long square or coffin nails. Over the clear bed, tap fine glitter onto the tip with a small flat brush, stopping just short of the free edge and using less towards the centre. Brush B030 Or Solaire, a builder gel with a golden reflection, over the tip third to deepen the fade, then cure, seal and cover with B025.

Fine silver glitter across the whole nail, veiled by B003 Milky White, gives a frosted sparkle discreet enough for the office. Seal the glitter in the clear bed and cure, then brush one light milky layer over it, testing the thickness on a tip first. Build the apex in clear gel, file, and finish with Diamond Top Coat, which does not yellow over whites.
Here the glitter sits above the colour, so the red stays deep while the sparkle seems to float over it. Build the base in B021 Rouge Capucine, a vibrant red builder gel that gives colour and structure in one step, and cure. Press fine red or gold glitter into a thin wet layer of clear gel, cure, seal with a light clear coat, then cover with B025 and file. Keep the cuticle line clean, because red shows every uneven edge.

B034 Prisme Holographique is a holographic, multi-reflective builder gel, so there is nothing to place. Apply it over a clear or milky base, cure, then cover with clear builder gel so the rainbow flash seems to sit deep inside the nail. With nothing adding height, it suits short nails and makes a good first set for a beginner.
Glitter only at the tip of a clear extension shows off the length, so it needs at least medium nails. Build the extension in B025 on a form, then cure and file the shape. Lay silver glitter in a wet bed just short of the free edge, leaving a small clear margin, and soften its upper line with a little B028 Éclat Céleste, a subtle silver builder gel, before curing. Cover the whole nail and file the free edge straight.
Tiny dried flowers sealed in a clear nail look fresh and romantic, a pretty choice for spring weddings. Lay two or three flowers per nail in the wet bed, each smaller than the nail is wide. Cure them in place, then brush clear gel over them until the petals are fully wetted, which pushes out the air, and cure again. Cover with clear builder gel, and start with one accent nail, because flowers take practice.

A few gold flakes in a pink nude nail go well with gold jewellery and are quiet enough for work. Build the base in B009 Rose Ballerine, a fresh ballerina pink, and cure. Tear gold leaf into small pieces. Brush a thin wet bed of clear gel close to one sidewall, leaving a small clear margin, or near the tip, and press the pieces flat into it with a dry brush, since leaf crumples easily. Seal with a light clear coat, cover with B025 and file.
For delicate encapsulated nails, a milky white base with small gold flakes looks clean and light on short almond nails, and suits a bride. Build the colour in B003 Milky White, cure, and scatter a few flakes over the centre of the nail in a thin wet bed. Seal and cure, then cover in clear builder gel so the flakes sit just under the surface. File gently and finish with Diamond Top Coat to keep the white bright.

In an encapsulated French, the white tip is sealed under clear gel, so the smile line is protected from wear. Build a pink base in B009 Rose Ballerine and cure. Paint the tip with a white gel polish and a liner brush, working from each sidewall towards the centre, then cure. Cover with B025, file, and finish with Diamond Top Coat.
Crushed shell on a clear base gives a pearly, uneven shine for summer holidays and beach weddings. Lay thin fragments flat in a wet bed over RB01 Transparent and seal them carefully, as sharp edges catch the brush. Use a slightly thicker cover of B025 and file gently, since shell breaks under the file. Finish with UV Filter Top Coat, a no-wipe top coat whose UV filter helps protect the manicure from sunlight.
Encapsulated nails have their decoration, such as glitter, dried flowers or foil, sealed inside the gel between a clear bed and a clear cover layer. The surface is then filed smooth, so no raised edges are left to catch.
Yes, glitter is the easiest decoration to encapsulate in builder gel. Lay it in a thin wet layer of clear gel, seal it with a light coat, then float builder gel over it.
Press thin, fully dried flowers into an uncured layer of clear gel and cure. Brush clear gel over them to push out the air, cure, then cover with builder gel and file.
Bumps come from decoration that is too thick, a cover layer that is too thin, or gel cured before it had time to level. Choose flat pieces, let the builder gel settle for a few seconds, and add a second cover layer over chunky items.
They last as long as a builder gel set, usually three to four weeks before an infill.
File them off with a hand file or a nail drill. Never soak or peel them: builder gel does not soak off, and peeling damages the natural nail.
The clear and coloured gels for these designs are in our builder gel and rubber base collections, and our glitter nail ideas offer more designs to seal inside the gel.
Nails for Men: The Men's Manicure, Step by Step
10 min read
French Tip Toes: How to Do a French Pedicure with Gel, Plus 10 Ideas
11 min read
Carnival Nails: 14 Bright Ideas with Glitter, Colour and Shine
12 min read
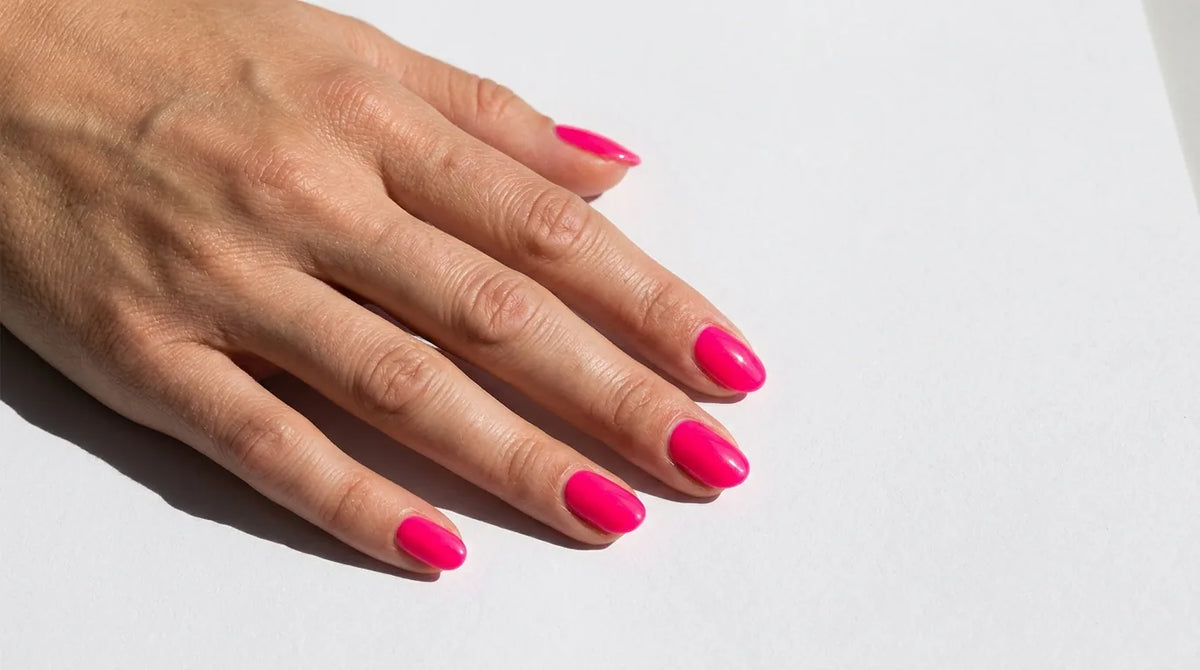
Neon Nails: 12 Bright Ideas and How to Make Neon Colours Pop
11 min read
Free delivery from 810 kr
Shipped from Nice, France
Prepared in 1 to 2 business days
For orders placed before 2 pm, Paris time
14-day returns
From the day you receive your order
Secure payment
Encrypted checkout
Nail tech, salon or distributor? Join the Elegelli professional programme for pro pricing.


