


How to Apply Gel Polish: Step-by-Step Guide for Long-Lasting Nails
Learn how to apply gel polish at home like a professional. Step-by-step guide for long-lasting, glossy gel nails with tips, tricks, and common mistakes to avoid.
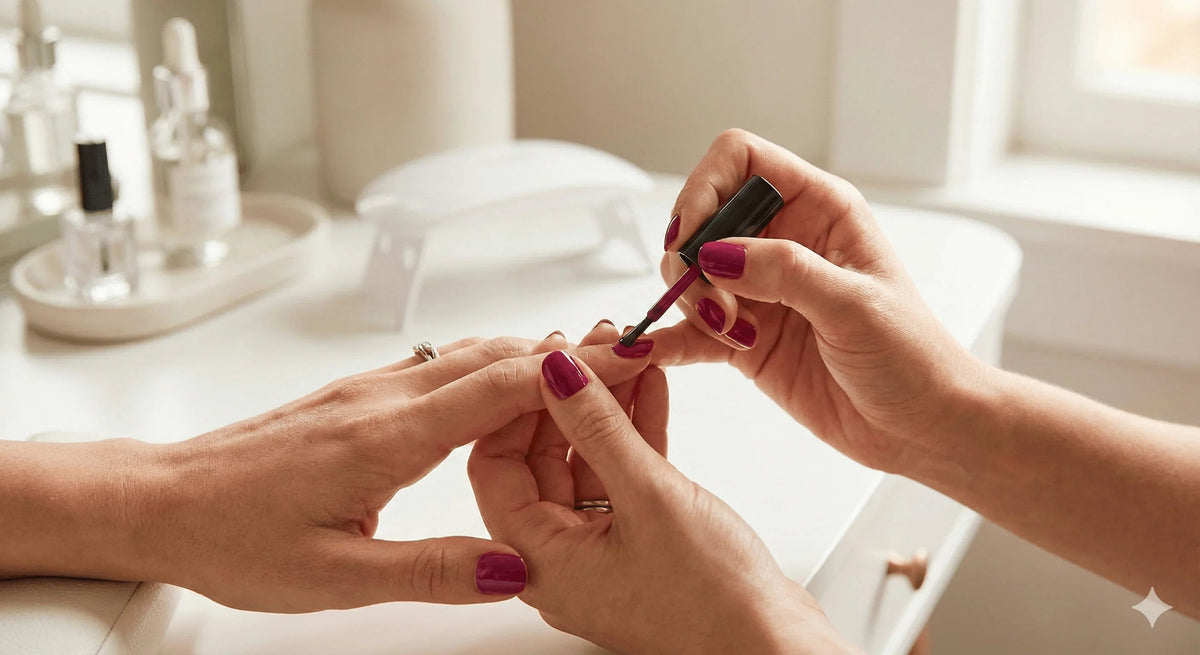
Learn how to apply gel polish at home like a professional. Step-by-step guide for long-lasting, glossy gel nails with tips, tricks, and common mistakes to avoid.

Gel polish is the go-to choice for a durable, glossy manicure that lasts weeks without chipping. Unlike traditional nail polish, gel polish requires proper preparation, application, and curing to achieve salon-quality results. This step-by-step guide will teach you how to apply gel polish at home and maintain flawless nails.
Before starting, gather all essential tools and products:
UV or LED nail lamp
Nail file and buffer
Cuticle pusher
Lint-free wipes
Nail cleanser or rubbing alcohol
Optional: nail primer or dehydrator
Having everything ready ensures a smooth application and prevents mistakes.
Proper nail prep is the foundation of a long-lasting gel manicure. Follow these steps:
Remove old polish: Clean nails completely.
Shape nails: Use a medium-to-fine grit file to shape the free edge to your desired style (oval, square, almond, etc.). Try to file in one direction to prevent microscopic splits.

Buff nails: Using a fine-grit buffing block, very gently buff the entire surface of each nail to remove the natural shine. The goal is to create a textured surface for the gel base coat to adhere to, not to thin the nail.

Push back cuticles: Gently use a cuticle pusher to push back the eponychium and scrape the thin layer of non-living tissue from the nail plate. This creates a clear boundary for the gel application.

Cleanse nails: Soak a lint-free wipe in nail cleanser or rubbing alcohol and scrub the nail plate thoroughly to remove all dust and natural oils. This is the final step before applying base coat.

Your nails are now perfectly prepped and ready for the gel application process. Remember, the quality of your prep will determine the longevity of your manicure.
The base coat is crucial for gel polish longevity:
Apply a very thin, even layer of base coat to the entire nail plate. A thin layer is crucial for proper curing and to prevent the gel from pooling at the edges.

It is critical to leave a tiny, clean margin between the gel polish and your skin/cuticle area. If gel touches your skin and cures, it will cause the polish to lift prematurely.

Once the base coat is applied perfectly to one hand, place it inside your UV or LED lamp to cure. Follow the manufacturer's instructions for your specific lamp, which is typically 30–60 seconds for LED and 2 minutes for UV.

For the perfect gel color:
Before you begin, gently roll the bottle of gel polish between your palms. This mixes the pigment without creating air bubbles, which can happen if you shake it vigorously.
Apply a thin layer starting from the center. Wipe excess polish from the brush on the rim of the bottle. Apply a very thin layer of color, starting with a single stroke down the center of the nail from the base to the tip.

Avoid touching cuticles: After the center stroke, carefully brush along the left and right sides of the nail. Maintain a small gap between the polish and your cuticles and skin. If you accidentally get polish on your skin, remove it immediately with an orange stick or a small brush dipped in cleanser before curing.

Cure under the lamp: Once the first coat is applied to one hand, cure it under your LED or UV lamp according to the manufacturer's recommended time. Repeat the process for a second coat if a more opaque color is desired, and cure again.

Repeat for 2–3 thin layers for full coverage. Thin layers prevent bubbling, uneven curing, and chipping. Want to save time? With Elegelli gel polish, one layer is all you need!
The top coat adds shine and protects your manicure:
Apply a thin layer evenly over nails.

Cap the free edge to prevent chipping.
Cure under the lamp.
After curing, your manicure is complete! If you are using a Elegelli diamond top coat, your nails will be dry and glossy immediately. If you are using a traditional top coat, you will need to wipe off the sticky inhibition layer with a cleanser and a lint-free wipe.

Hydration is key for healthy nails:
Apply cuticle oil around nails.
Moisturize hands to keep skin soft and nails strong.
Avoid harsh chemicals or prolonged water exposure for the first 24 hours.
Proper hydration prolongs the life of your gel manicure and maintains its shine.
Practice makes perfect, and over time, you’ll master a flawless routine that saves time and money while keeping your nails healthy and beautiful.

How to Remove Gel Nails and Builder Gel with an E-File, Without Dam…
The removal is where a manicure is really judged. The professional e-file method, the right bits and the mistakes that leave nails thin and sore.
6 min read

Halloween Nails: 13 Halloween Nail Designs, from Simple to Spooky
Thirteen Halloween nail designs, from an office-friendly black French tip to spider webs, ghosts and blood drips, with step-by-step advice for painting them in gel.
10 min read
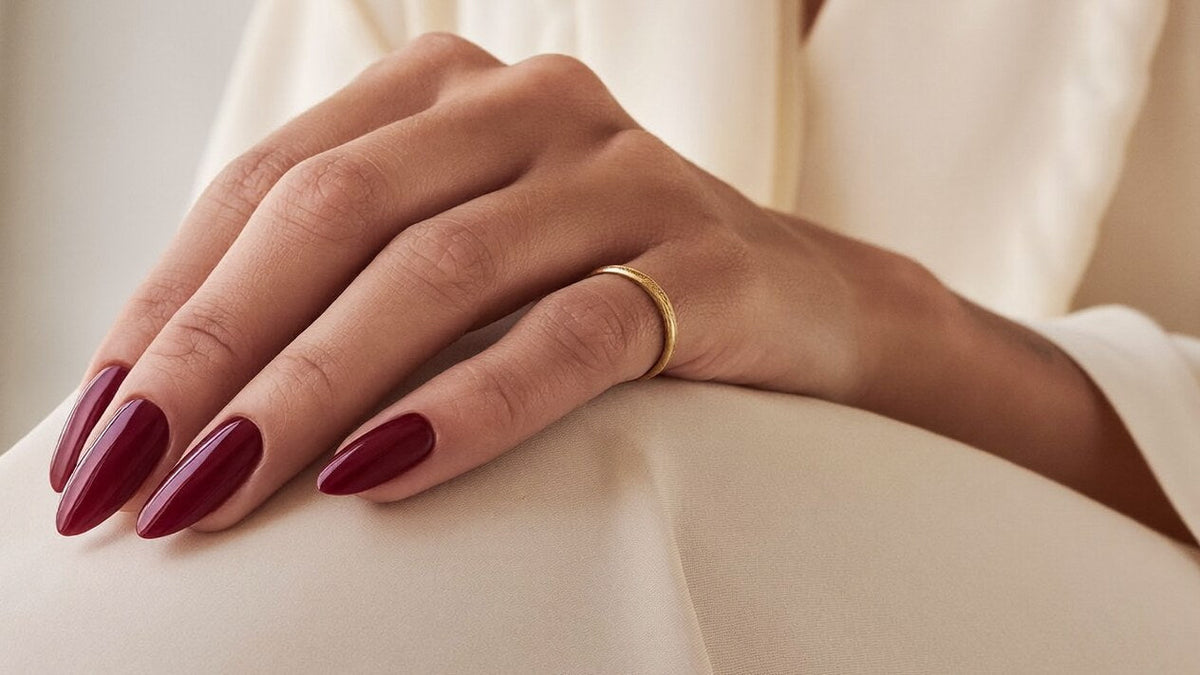
Burgundy Nails: 12 Chic Ideas for Autumn–Winter 2026
Wine red, black cherry, a fine burgundy French or a touch of gold: our favourite ways to wear the most elegant colour of the season, and the shades to do it.
7 min read
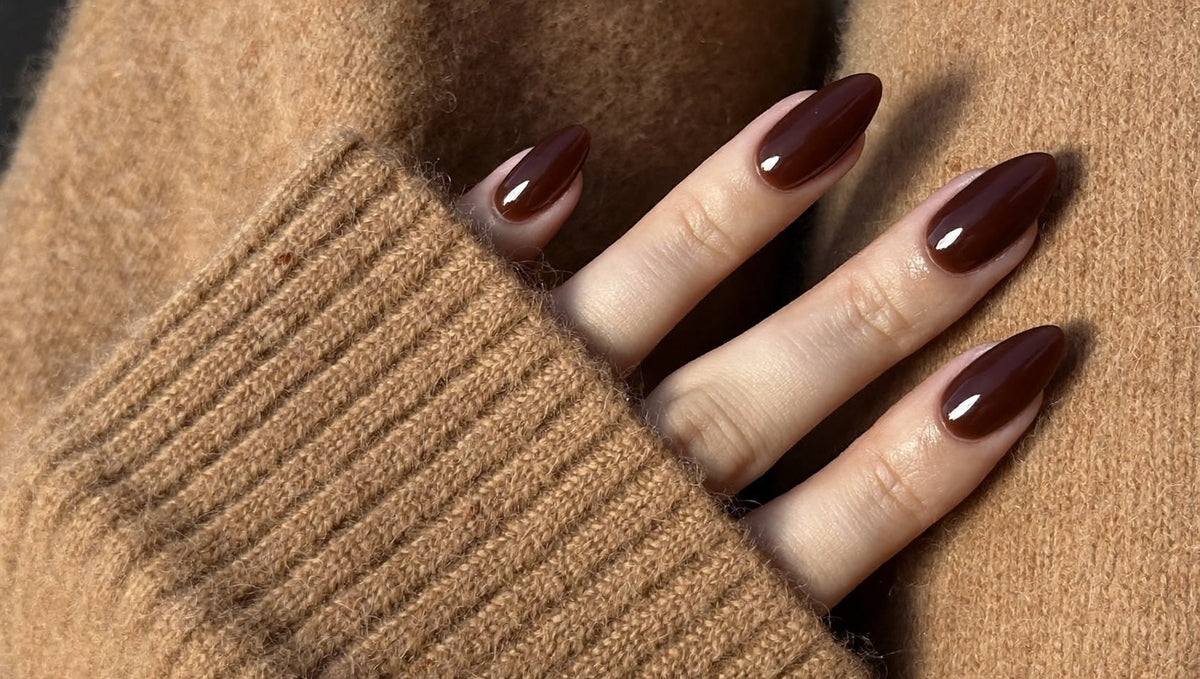
Brown Nails 2026: 12 Elegant Ideas, from Dark Chocolate to Caramel
Dark chocolate, espresso, marron glacé or golden caramel: twelve brown manicures for the season, the shade that suits your skin and the secrets of a brown that looks expensive.
6 min read
Free delivery from 75€
Shipped from Nice, France
Prepared in 1 to 2 business days
For orders placed before 2 pm, Paris time
14-day returns
From the day you receive your order
Secure payment
Encrypted checkout
Not sure which shade or product to choose? Talk it through with one of our nail experts.
Book my consultationNail tech, salon or distributor? Join the Elegelli professional programme for pro pricing.


