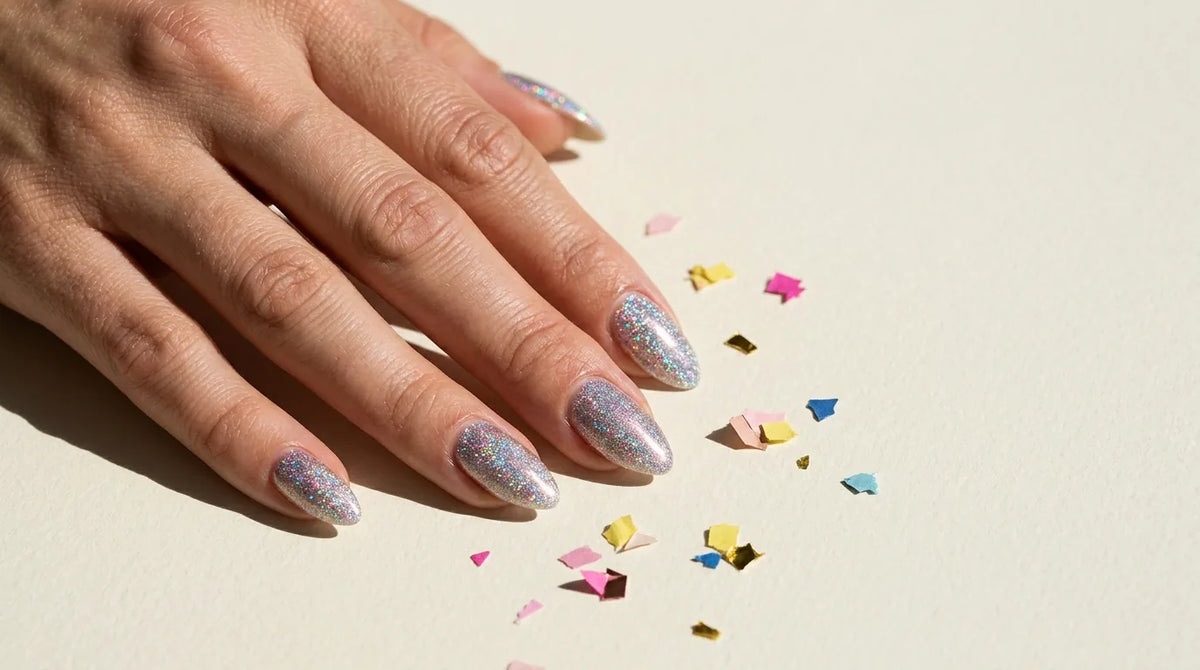
Gel Overlay on Natural Nails: What It Is, Which Gel to Use and How to Do It
A gel overlay gives thin, bendy or peeling nails the strength to grow, with no added length. This guide covers which gel to choose, what to buy and how to apply and remove it.
by Anastasia Kovalenko
A gel overlay is a layer of rubber base or builder gel applied over your natural nails to strengthen them. It adds no length, and the extra support helps the nails grow without breaking so easily. Which gel to use depends on how your nails behave: rubber base suits flexible nails that need a little strength, while builder gel suits weak or flat nails that need real structure.
This guide matches the gel to your nails, covers application, wear and removal, and ends with a short shopping list.
What is a gel overlay on natural nails?
An overlay is a structural layer of gel that covers the whole natural nail, from just in front of the cuticle to the free edge. It is thicker than gel polish and slightly domed, so the nail bends less and stands up better to everyday knocks. In France the service is called a gainage, and many salons sell it as a structured manicure.
Unlike extensions, which add length with forms or tips, an overlay keeps the length you have. Gel polish is different again: it gives colour in thin coats and very little strength. An acrylic overlay does the same job with a liquid and powder that harden in the air, while gel stays workable until it is cured under a lamp.
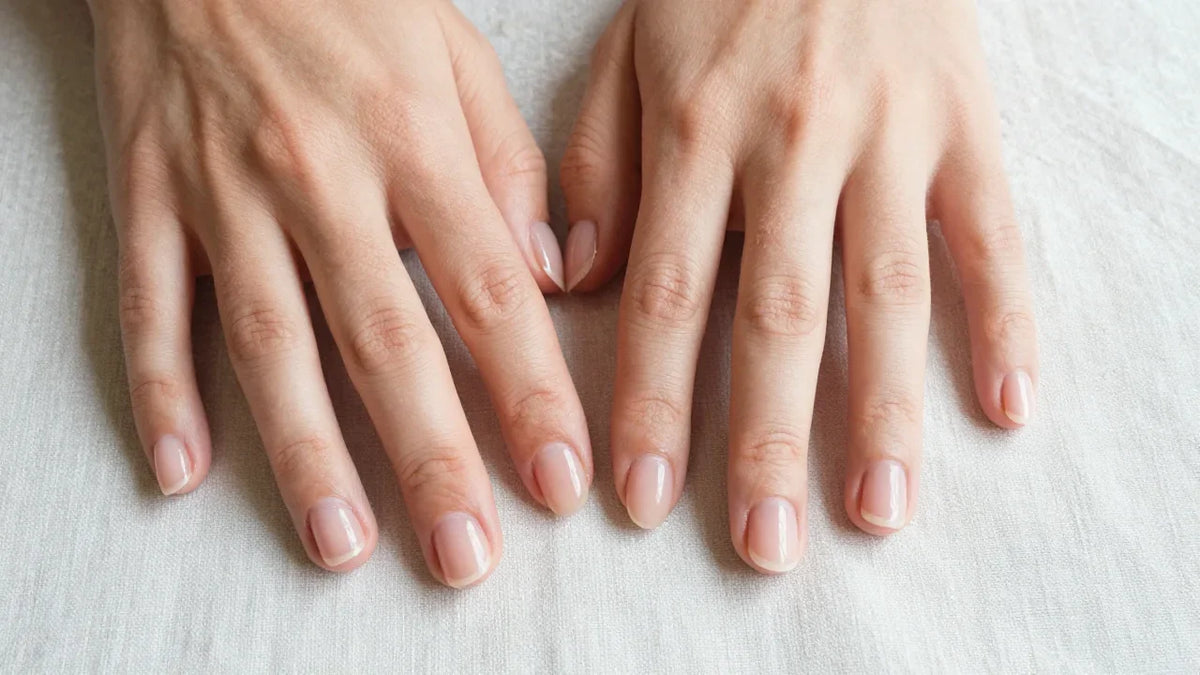
The finished nail keeps its own shape, with a smooth surface and a slight curve when seen from the side. Most people choose a clear or sheer pink gel, because the regrowth barely shows.
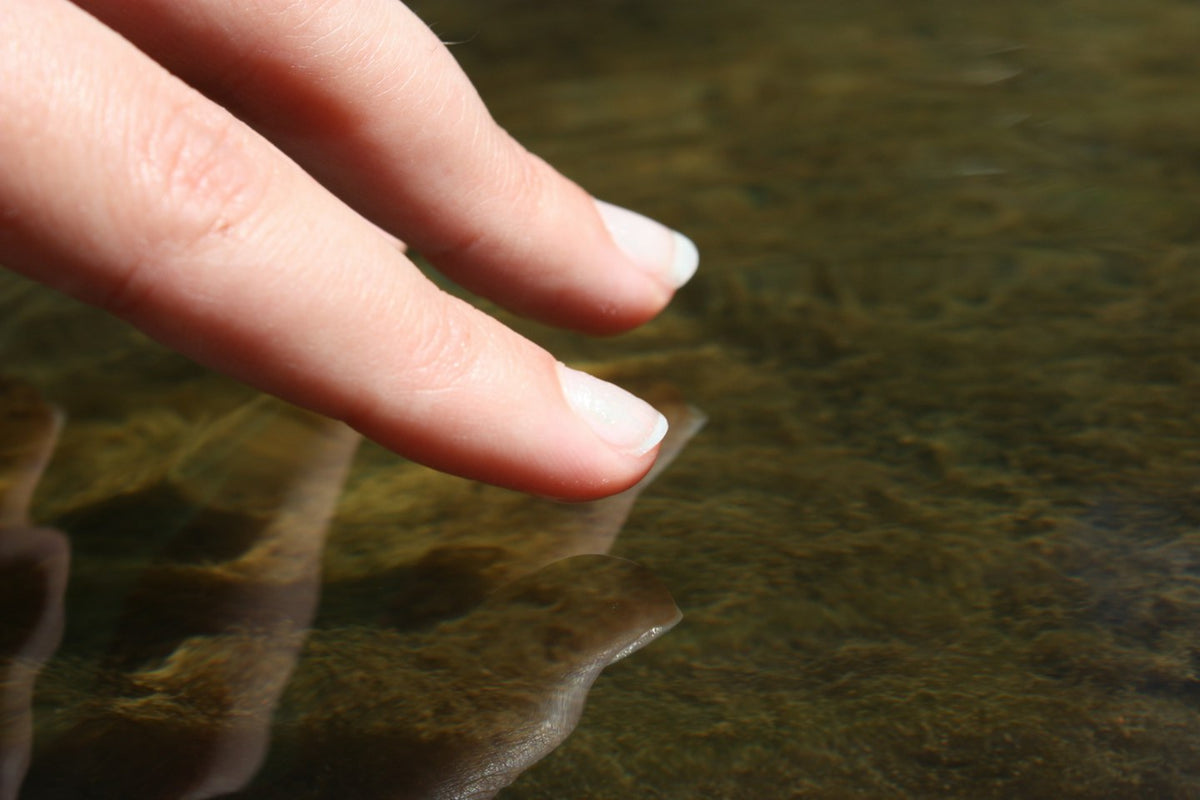
A finished overlay is thin at the edges, with a slight curve over the middle of the nail.
Is a gel overlay manicure right for your nails?
A gel overlay manicure helps most when the weak point is the nail itself:
Thin or bendy nails that fold when you press on the tip.
Nails that peel in layers or split at the free edge.
Nails that break at the corners just as they reach the length you wanted.
Bitten nails you are growing out, as long as the skin around them is not broken.
Gel polish that chips at the tips within days, because the nail flexes underneath it.
Strong nails that hold gel polish until the regrowth shows can do without one. An overlay protects the nail, but it does not treat a nail condition. Gel never goes over a nail that is lifting from the nail bed, infected, painful or injured: show it to a doctor or dermatologist first.
Rubber base or builder gel: which gel for an overlay?
Both gels make a good overlay; what separates them is how much support they give. Rubber base stays slightly flexible once cured, while builder gel cures firmer and holds a shape. The table sums up the essentials, and our comparison of rubber base and builder gel on natural nails goes through every difference.
Criterion
Rubber base overlay
Builder gel overlay
Best for
Flexible nails, short to medium
Weak or flat nails, longer nails
Application
Brushed on from the bottle
Placed with a gel brush
Once cured
Slightly flexible
Firm, holds a higher apex
Difficulty
Easy
Takes practice
Removal
Usually filed off (follow the instructions)
Filed off, never soaked
Rubber base overlay for flexible nails
Rubber base is the lighter option, suited to nails that flex and peel without really breaking. It brushes on from the bottle in thin layers and levels itself, which makes it the quicker and easier of the two. On short and medium lengths it is often all you need.
Builder gel on natural nails that need structure
Builder gel is the better choice for weak or flat nails, for longer natural nails and for anyone who is hard on their hands. Its thicker texture lets you build a higher apex, the high point over the middle of the nail that takes the strain when the tip is knocked. Expect it to take more practice: you guide the gel with a brush, and it has to be filed off.
Rubber base and builder gel together for difficult nails
Oily nail plates, sidewalls where gel always lifts first and hands that spend the day in water all make an overlay harder to keep on. In those cases, use the two together: a thin coat of rubber base, cured, as a flexible layer close to the nail, then builder gel on top for strength.
What to check on the label of a gel for natural nails
Whichever brand you buy, look for a self-levelling gel, which saves filing, and for a label that states the lamp type and the curing time. Check whether the gel soaks off or has to be filed. Then read the ingredients and prefer a gel clearly marked HEMA-free and TPO-free.
Which Elegelli gel to use on your natural nails
Each of the nail types above has a match in our range.
Clear rubber base for a first overlay
If you are unsure where to start, RB01 Transparent is the all-rounder. This crystal-clear rubber base levels itself, helps correct small irregularities and adds strength to the natural nail. Worn alone under a top coat, it gives the bare, glossy finish people want from clear gel polish on natural nails, and it also works as the base under any colour. Prep has to be clean, though, because dust shows through a clear gel.
A tinted rubber base gives you the overlay and a sheer colour from the same bottle. Of our shades, RB02 Porcelaine is a milky, translucent ivory with a soft porcelain finish, RB03 Cachemire is a muted dusty pink that sits well on fair and cool-toned skin, and RB04 Pêche is a warm peach for olive, golden and tanned hands. All three stay sheer, so they even out the nail without hiding it. Like Transparent, they are HEMA-free, TPO-free and made in France.
Three shades cover most builder gel overlays. The everyday choice is B003 Milky White; for a fresh ballerina pink, pick B009 Rose Ballerine. The closest thing to a clear builder gel on natural nails is B025 Poussière de Diamant, transparent with a subtle shimmer.
All three are self-levelling and cure in 60 seconds under an LED lamp or 120 seconds under UV. The airtight 30 mL jar doses the gel when you press it, ready to be picked up with a gel brush. Our builder gels list no HEMA in their ingredients, use TMO, a different photoinitiator from TPO, and are made in France.
A nail overlay kit needs more than gel, because prep decides how long the overlay stays on. Start with Prep Booster, a nail dehydrator that takes oil and moisture off the nail plate and dries in seconds. On oily nails, or wherever gel tends to lift, follow it with Acid-Free Nail Primer, which air-dries in under a minute and does not burn or sting. Our guide to nail primer and dehydrator explains when you need each.
Over the gel, Diamond Top Coat gives a hard, glassy shine with no sticky layer to wipe, and it does not yellow over a clear or milky overlay. The Milky White Finish Kit pairs it with Milky White, for anyone who wants gel and top coat together. You will also need a UV/LED lamp, which we do not sell; choose one with timer settings that match your gel's curing time.
The steps are the same for both gels and only the tool changes: the brush in the bottle for rubber base, a gel brush for builder gel from a jar. The skill lies in controlling how much gel you place and where, so work on one or two nails at a time and cure them before the gel has time to run. What follows is the short version; our structured gel manicure step by step covers each stage in full.
Prep. Push back the cuticle, remove the thin skin stuck to the nail plate, shape the free edge, lightly buff away the shine and brush off the dust.
Cleanse and prime. Apply Prep Booster to each nail, then add primer on oily nails and let it air-dry.
Slip layer. Brush a very thin coat of gel over the whole nail and the free edge, and leave it uncured so the next layer can glide.
Bead. Set a small bead of gel in the centre of the nail, a little way from the cuticle.
Guide it. Nudge the bead towards the cuticle without touching the skin, then draw it down to the free edge and out to the sides.
Level and cure. Turn the hand palm up for a few seconds so the gel gathers along the centre and forms the apex, then cure for the time given in the gel's instructions. Cure the thumbs separately, laid flat.
Finish. For colour, add gel polish in thin coats and cure each one. Then apply top coat, cap the free edge and cure.
Take your time over the bead, as it shapes the whole overlay. Hold the brush almost flat and let it float on the gel. The layer should stay fullest in the middle and thin out towards the cuticle, the sides and the tip. Start small: a second bead is easy to add, but too much gel runs into the sidewalls.
Let the brush float on the gel as you guide it over the nail.
Keep every layer off the skin. Gel on the cuticle or sidewalls soon lifts, and uncured gel on the skin is the main cause of gel allergy, so clean any overflow before curing. At the first sign of redness, itching or swelling around the nails, stop using the product and see a doctor.
How long does a gel overlay last?
A well-applied gel overlay lasts three to four weeks before it needs an infill. By then a gap shows at the cuticle and the apex has grown towards the tip, where it no longer supports the part of the nail that bends. An infill thins the existing gel, prepares the regrowth and adds fresh gel to rebuild the apex. Our builder gel infill guide shows the routine.
A hand file is enough for your own nails, but an e-file saves time on clients. The Professional Cordless Nail Drill runs at up to 45,000 RPM with low vibration and a handpiece that stays cool. It takes standard 2.35 mm bits, which are not included, and near the natural nail it needs a low speed and a light hand.
A gel overlay is filed down, never peeled off, because peeled gel takes the top layers of the nail plate with it. Take off the top coat and most of the gel with a medium-grit file or an e-file, and stop while a thin layer still covers the natural nail. That layer shields the nail from the file, and it either grows out or stays under your next overlay.
Most rubber bases are filed off like builder gel, but check the product instructions. The technique is set out step by step in our article on removing gel nails with an e-file.
What to buy for a gel overlay
Flexible nails and a first overlay. The Transparent rubber base, Prep Booster and Diamond Top Coat.
A sheer colour without polish. Porcelaine, Cachemire or Pêche, worn alone under Diamond Top Coat.
Weak, flat or longer nails. Milky White, Rose Ballerine or Poussière de Diamant, with Prep Booster and Diamond Top Coat. The Milky White Finish Kit already pairs Milky White with the top coat.
Oily nails, or gel that always lifts. Prep Booster and Acid-Free Nail Primer, then Transparent under a builder gel.
Clients, or quicker infills. The Professional Cordless Nail Drill; bits are not included.
Frequently asked questions
Is a gel overlay good for your nails?
A gel overlay helps protect the nail from bending, splitting and breaking, which gives it the chance to grow. It has to be applied and removed with care, though: the damage people blame on gel usually comes from heavy filing during prep or from peeling the product off.
What is the difference between a gel overlay and gel polish?
Gel nail polish on natural nails gives colour and shine in thin coats, with very little added strength. A gel overlay is a thicker layer of rubber base or builder gel that reinforces the nail, and colour can be worn over it.
Can you use builder gel in a bottle on natural nails?
Yes. Builder gel in a bottle comes with a brush in the cap and is applied in much the same way as a rubber base. Our guide to builder gel in a bottle explains how to choose one.
Builder gel overlay vs full set: which do you need?
A builder gel overlay covers your own nail at the length it already has. A full set adds length first, on forms or tips, which takes more time, more product and more skill. If you only want stronger natural nails, an overlay is enough.
Rubber base levels ridges, strengthens thin nails and can be worn alone as a sheer colour. This guide explains how to apply and remove it, and which clear or tinted one to choose.