


How to Apply Gel Polish at Home: A Step-by-Step Guide for Beginners
Done carefully, a gel manicure at home lasts two to three weeks. This guide takes you through every step, from prep to top coat, and shows how to fix wrinkles, bubbles and streaks.
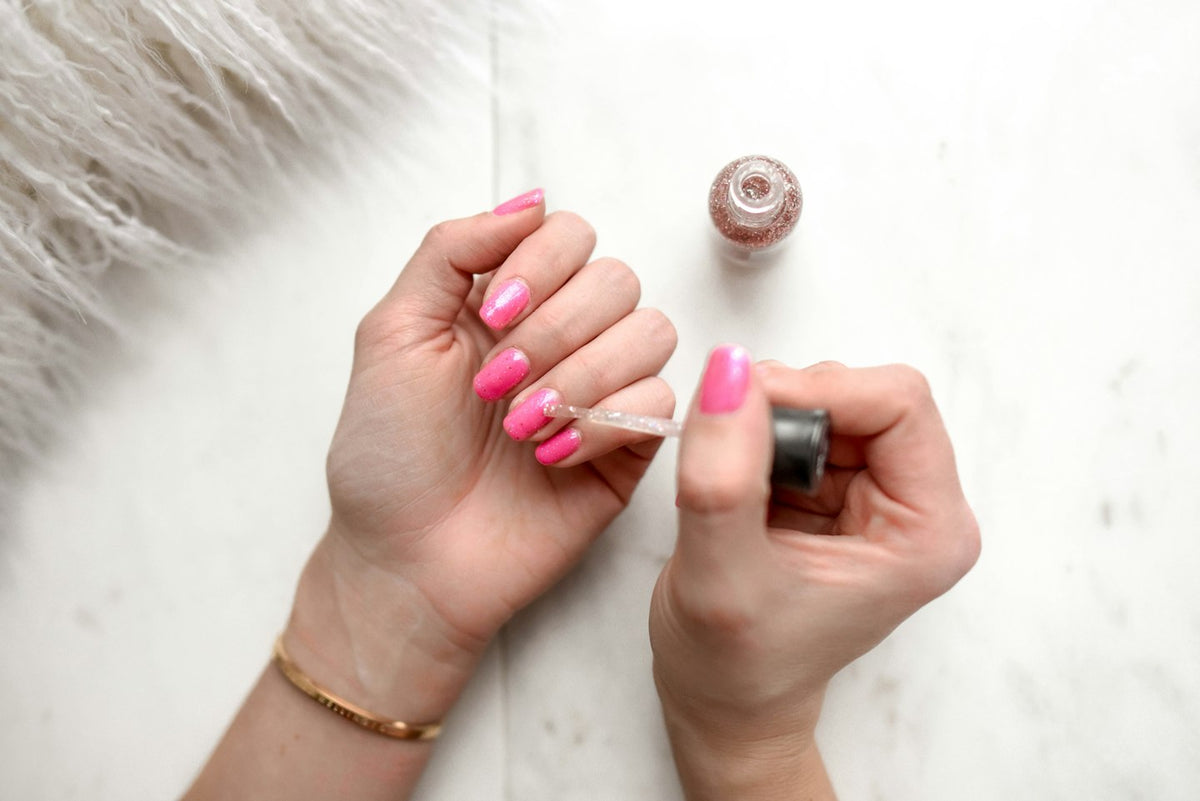
Done carefully, a gel manicure at home lasts two to three weeks. This guide takes you through every step, from prep to top coat, and shows how to fix wrinkles, bubbles and streaks.

Once you know how to apply gel polish at home, you can have a manicure that lasts two to three weeks without a salon appointment. The order never changes: prep the nail, then a base coat, two thin coats of colour and a top coat, each cured under a UV/LED lamp.
Most problems beginners run into, from wrinkles to early lifting, come from rushed prep, thick coats, gel on the skin or layers that aren't fully cured. Below, we cover the kit, each step in order, how many coats to apply, the usual mistakes and safe removal.
A standard base coat is enough for strong, smooth nails. A rubber base is thicker and self-levelling, so it fills small ridges and gives thin, bendy nails more support. A clear one such as RB01 Rubber Base Transparent works under any colour.
If you're starting from scratch, the Discovery Kit puts the three gel layers in one box: a Classic base coat, a gel polish shade and Diamond Top Coat. Add a lamp, your prep tools and Prep Booster, and you have everything you need.

Set up at a table in good light, where you can rest both elbows to keep the brush steady. Keep the lamp within reach but away from open bottles, because its light, like sunlight, starts to thicken the gel. Paint and cure every layer in small batches: four fingers of one hand, then the other four, then both thumbs together.

The thumbs go in separately because, beside the other fingers, a thumb tilts sideways and is easily under-cured. Turn your hands until both thumbnails lie flat under the lamp. If you're slow at first, cure every two or three nails, before the gel has time to creep towards the cuticle.
For curing times, always follow your gel's instructions for your type of lamp. As a general guide, a thin coat usually needs 30 to 60 seconds in an LED or dual lamp and around two minutes in a traditional UV lamp. Base, colour and top coat may each need a different time. Our guide to UV and LED nail lamps covers choosing a lamp and spotting under-cured gel.
Short nails are the easiest to start on, and they hold gel well because the tips take fewer knocks. Even a millimetre of free edge needs capping: hold the brush almost flat and run it along the tip. Use less gel, since two strokes may cover a small nail. A round or oval shape that follows the curve of the cuticle makes short nails look longer.
A standard gel manicure has four layers: one base coat, two thin coats of colour and one top coat, each cured before the next goes on. Two coats give most shades full, even coverage.
Sheer shades, pastels and whites may need a third coat. Keep it as thin as the others, since a thick layer can cure on top and stay soft underneath, then dent and lift within days.
Thin means just enough gel for the brush to glide. Wipe one side of the brush on the neck of the bottle, so only the other side carries gel. That amount should cover the nail in three strokes, down the centre and each side, without pooling at the edges.
Before curing, check the nail from the side. A bump at the cuticle or a ridge along the sides means too much gel in that spot, so lift the excess with the clean-up brush. Too little causes problems as well: a dry brush drags, leaves bald patches and makes streaks.
Flooding, when gel runs into the cuticle or down the sides of the nail, is the beginner mistake that matters most. Gel cured on the skin lifts as the skin moves, and repeated contact between uncured gel and skin is the main cause of gel allergy.
Use less gel near the edges and keep the finger level while you paint. Clean every nail before it goes under the lamp, wiping the clean-up brush on a lint-free wipe after each one. Don't pick off gel that has already cured on the skin; remove and redo that nail. If the skin around your nails becomes red, itchy or swollen, or blisters appear, stop using gel and see a doctor or dermatologist.
Bubbles come from shaking the bottle or brushing over the same spot repeatedly, and thick coats trap more of them. Roll the bottle instead and stick to three strokes per coat. Pop any bubble with the tip of the clean-up brush before the nail goes under the lamp.
Pale, creamy shades such as pastels and milky whites are the most prone to streaks, because every difference in thickness shows as a change in colour. Their pigment also settles in the bottle, so roll them for longer. Keep the first coat thin, then give the second a fuller brush and a lighter touch, as in step 8, adding a third thin coat if faint streaks remain.
Wrinkles that form during curing mean the coat was too thick: the surface hardens first and puckers over the liquid gel beneath. Another coat won't flatten them. Cure the nail again so the gel underneath sets, then remove the gel from that nail and start again with thinner coats. Dark and densely pigmented shades wrinkle most easily, so keep them especially thin.
A tacky film on the base and colour after curing is normal. Called the inhibition layer, it forms because oxygen in the air stops the surface from setting, and it helps the next coat bond. Keep your fingers off it all the same: it's uncured gel, and touching it puts gel on your skin.
Under-cured gel behaves differently: it dents or smears when the next coat goes on, and a no-wipe top coat stays tacky. Give the nail another full cycle. The usual causes are a thick coat, a thumb cured at an angle or a lamp that doesn't suit the gel.
A sudden burning feeling in the lamp is a heat spike. Gel gives off heat as it cures, and a thick layer or a powerful lamp releases it all at once; thin or over-buffed nails feel it most. Slide your hand out for a few seconds, then put it back for a full cycle so the layer still cures. Next time, apply thinner coats and use the lamp's low-heat mode if it has one.
Chips at the tip generally mean the free edge wasn't capped, so run the brush along the tip with every layer next time. Lifting at the cuticle usually comes down to cuticle left on the nail or gel touching the skin. Our guide to why gel polish lifts and how to make it last covers each cause and the prep that prevents it.
Never peel or pick off gel polish, because it takes the top layers of your nail with it. To soak it off, file the shine off the top coat to break the seal, then wrap each nail in foil over an acetone-soaked pad. Once the gel has softened, usually after ten to fifteen minutes, push it off gently with an orangewood stick, from the cuticle towards the tip. Rewrap any nail that resists rather than scraping, and finish by washing your hands and oiling your cuticles.
Filing avoids acetone altogether, and it's the usual way to remove a rubber base, which is slow to soak off. By hand, take off the bulk with a medium file and the last film with a soft buffer, so the file never touches the natural nail. Our guide to removing gel with an e-file shows how technicians do it quickly without thinning the nail.
There's no drying time: gel polish doesn't dry in the air and stays liquid until it's cured under a UV/LED lamp. Cure each coat for the time in the instructions, then brush the next one straight onto the tacky layer.
Prep comes first, then primer if needed, left to dry. After that come the base coat, two coats of colour and the top coat, each cured before the next. Nail art and glitter go between the colour and the top coat, which seals them in. Chrome powder is the exception: it's rubbed onto a cured no-wipe top coat, then sealed with a second layer of top coat.
An extra cycle does no harm, and it's the safer choice if you're unsure whether a layer has cured. Much longer or repeated cures bring no benefit, though, and can make gel brittle while adding heat and UV exposure. Under-curing is the bigger risk, both for wear and for allergy.
No. Gel polish only hardens under a UV/LED nail lamp, and daylight, a hair dryer or an ordinary LED bulb won't cure it properly. Uncured gel stays sticky, smudges at the first touch and can lead to an allergy if it stays on the skin.
Yes. Gel doesn't set until you cure it, so you can tidy an edge or restart a nail before it goes under the lamp. A light nude such as 017 Silk makes a forgiving first shade, because small flaws at the cuticle show far less than on a dark colour. Thin coats take a few manicures to master; once they feel easy, our simple nail designs for beginners are a good next step.
For your first manicure, start with one of our starter kits, then choose your next colours from the gel polish collection.

Tortoiseshell Nails: How to Do Them with Gel Polish, Plus 7 Designs
Tortoiseshell nails get their depth from a sheer amber layer between two rounds of spots. We show how to build it in gel, step by step, with seven designs from French tips to cat eye.
9 min read
Gift Ideas for Nail Lovers and Nail Technicians: Our Christmas 2026 Guide
First gel kits, festive magnetic shades, the finishes experts reorder and the pro e-file: Christmas gift ideas for everyone who notices hands first.
5 min read

Simple Nail Designs: 15 Easy Nail Art Ideas for Beginners
Dots, tiny hearts, a micro French and more: 15 simple nail designs to paint in gel at home, each with its tool or a household alternative, plus how to fix mistakes before curing.
10 min read

How to Remove Gel Nails and Builder Gel with an E-File, Without Dam…
The removal is where a manicure is really judged. The professional e-file method, the right bits and the mistakes that leave nails thin and sore.
6 min read
Free delivery from 1.150 Kč
Shipped from Nice, France
Prepared in 1 to 2 business days
For orders placed before 2 pm, Paris time
14-day returns
From the day you receive your order
Secure payment
Encrypted checkout
Not sure which shade or product to choose? Talk it through with one of our nail experts.
Book my consultationNail tech, salon or distributor? Join the Elegelli professional programme for pro pricing.


