


Simple Nail Designs: 15 Easy Nail Art Ideas for Beginners
Dots, tiny hearts, a micro French and more: 15 simple nail designs to paint in gel at home, each with its tool or a household alternative, plus how to fix mistakes before curing.

Dots, tiny hearts, a micro French and more: 15 simple nail designs to paint in gel at home, each with its tool or a household alternative, plus how to fix mistakes before curing.

Simple nail designs are the easiest way into nail art. Each one relies on a single skill, such as placing a dot, pulling a line or laying a strip of tape. With gel, a smudged dot can be wiped off and redone, because nothing sets until it goes under the lamp.
Each of the 15 easy nail designs below comes with its tool, a household alternative where one works, and the steps. A beginner method for clean gel details follows.
The designs run roughly from easiest to hardest: three with no drawing, then dots, tape, lines and a sponge. Paint each detail over a cured layer, cure it, and seal the finished nail with top coat.
An accent nail needs no drawing and gives you a practice nail on each hand. Use the ring finger, with the other eight nails in a quiet shade such as 017 Silk, a light nude. For gold that picks up your rings, try B030 Or Solaire, a builder gel with golden reflections that adds strength too. It is filed off rather than soaked, as our guide to removing gel and builder gel explains.
Alternate two colours finger by finger, or wear one per hand. For the office, pair 188 Sage, a deep sage green, with 021 Cloud, a milky white. Sheer milky shades like Cloud streak when the brush drags, so load enough gel for it to glide and build two or three thin coats.
A glitter tip is forgiving, because its scattered edge hides an uneven line. Before opening the bottle, roll it between your palms, since glitter settles and shaking adds bubbles. On a cured Silk base, brush glitter gel over the third nearest the tip and cure it. A second layer on just the last few millimetres makes the edge denser. Seal with Diamond Top Coat, a no-wipe top coat, wrapped over the free edge, adding another thin coat if you can still feel grains.
Even very short nails have room for a single dot, and a round-headed pin in a pencil eraser makes a good dotting tool. Put a drop of 001 Black on a square of foil and dip the tool. Touch it down once on a cured Silk base, two millimetres above the cuticle. A bigger dot needs a bigger ball, as pressing harder only distorts it. Tiny gold studs need no painting: press each into a drop of clear builder gel, cure, and seal around it with top coat.

Sold Out
Three to five white toothpick dots down the centre of a Sage nail draw the eye lengthways, so short nails seem longer. Place the one nearest the cuticle first, at the same height on every nail, and work towards the tip, one dot's width apart. For dots that shrink as they go, dip once and place them all without reloading: each takes a little less gel than the last.
The easiest heart starts as three dots: two the same size, just touching, and a smaller one centred below them. Drag a clean toothpick from the outside of each top dot down to the small one, and they merge into a heart. The lower dot marks the point, so both sides meet in the same place. Wear one black heart per nail, off-centre on a Cloud base.
Daisies are dots too: five white petals around a yellow centre. Place the petals with a hairgrip or a medium dotting tool, as if marking the points of a star. Re-dip for each so they match, cure, then add the centre with a toothpick to hide the join between the petals. On a lavender base such as 022 Lilac, one or two daisies per hand are enough.

Striping tape, or a thin strip of masking tape, gives negative space nails a crisp edge between colour and clear nail. Start with a thin, cured layer of B025 Poussière De Diamant, a transparent builder gel with a subtle shimmer. Press the tape on diagonally and firmly, so no gel seeps under it, leaving a tail to grip. Paint Sage or Black over the rest, then peel the tape away at a low angle and cure straight away. Use fresh tape for a second coat.
Colour blocking splits the nail into two or three flat areas, and tape does most of the work. Paint the paler colour first, so the darker one hides any overlap at the join. Tape off one section, paint it, peel the tape and cure, then lay fresh tape over the cured edge before painting the next. On short nails, two diagonal blocks, such as Silk and Sage, stay neater than three.
Two dots and a curve make a smiley, a good step from dots to lines. Dot the eyes with a toothpick, since their spacing sets the size of the face, and add a shallow smile with a fine liner brush. With no liner, drag a small dot sideways into a curve with the toothpick. A tiny black face on Cloud, on one or two nails, is enough.
Few designs train a steady hand as well as a fine line from cuticle to tip, which also lengthens the nail. Wipe the loaded liner brush on the foil until no bead hangs at the tip. Brace the little finger of your painting hand against the other hand. Starting just short of the cuticle, pull the brush towards you in one stroke, eyes on the point where the line should end. Placed slightly off-centre, a black line over Silk hides a small drift that a central line would show.
The micro French shrinks the white tip to a line one or two millimetres deep, so it barely shortens the nail. Mark the depth with three tiny white dots, at each corner of the tip and in the centre, then join them with a liner brush. Cap the edge with the same brush, and tidy the inner line with a flat brush dipped in cleanser before curing. While you're learning, Cloud over Silk gives a soft tip that hides wobbles better than bright white.
Half-moon nails leave a bare crescent at the base, like the natural lunula, and the bottle brush can draw its curve. Over a cured base coat, set the loaded brush down a few millimetres above the cuticle. Press lightly and the bristles fan into an arc that mirrors the cuticle. Pull the brush towards the tip and fill the sides in Sage or Black. As the nail grows, regrowth blends into the bare moon.
Swirls take several steps, but they hide mistakes well, because a wobble becomes part of the curve. Draw one wavy line with a liner brush and cure it, then add a second colour alongside, following its curves. Curing between colours keeps them separate where they touch or cross. Over Cloud, Lilac and Sage sit well together, and the lines have more room to flow on medium and long nails.
Try the sponged gradient, the hardest design here, on one accent nail first. Paint stripes of Cloud and Lilac side by side, just overlapping, on a small wedge of make-up sponge, and blot it once on the foil. Dab it onto a cured Cloud base, moving it slightly up and down where the colours meet. Clean all gel off the surrounding skin before curing, and repeat once or twice. Top coat smooths the grainy texture the sponge leaves.
Gel stays liquid until it's cured, so a detail left too long spreads and loses its edge. Finish and cure one nail at a time, following your gel's instructions; our guide to UV and LED nail lamps explains curing times.
Nail art lasts only as long as the manicure beneath it. Cap the free edge with every layer, and follow the prep in our guide on how to make gel polish last.
Minimalist nail designs depend on precision, because a single dot or line shows every flaw. Repeat one motif at the same scale and height on every nail, comparing each with the first before you cure it. Keep to two colours, such as black details on a Cloud or Silk base. Seal with Diamond Top Coat, as fine details look sharper under a glassy finish. Our classy nail designs for work and weddings offer more understated ideas.
The easiest designs need no drawing: an accent nail, two-tone nails and a glitter tip. Dots come next, since you only touch a tool down and lift it, then tape designs. Freehand lines take the most practice, so leave the micro French and swirls until dots feel easy.
There's no fixed list, but five techniques sit behind almost every simple design: an even colour coat, a dot, a taped edge, a freehand line and a sponged gradient. Once they feel easy, our guide to 30 gel nail art ideas adds the next skills, from cat eye magnets to chrome powder.
Start with designs that need only the brush in the bottle: an accent nail, two-tone nails, a glitter tip and a half-moon. A hairgrip, a round-headed pin or a toothpick replaces a dotting tool, and thin strips of masking tape replace striping tape. A fine liner brush is worth buying, as a toothpick can't hold enough gel for a long, even line.
Small details with base colour around them suit short nails best: a single dot, a tiny heart or a micro French. A row of dots or a line running from cuticle to tip makes the nail seem longer, and wide bands across it shorten it.
A nude, a milky white and a black from our gel polish collection cover most of these designs; our builder gel range adds shimmer.

Halloween Nails: 13 Halloween Nail Designs, from Simple to Spooky
Thirteen Halloween nail designs, from an office-friendly black French tip to spider webs, ghosts and blood drips, with step-by-step advice for painting them in gel.
10 min read
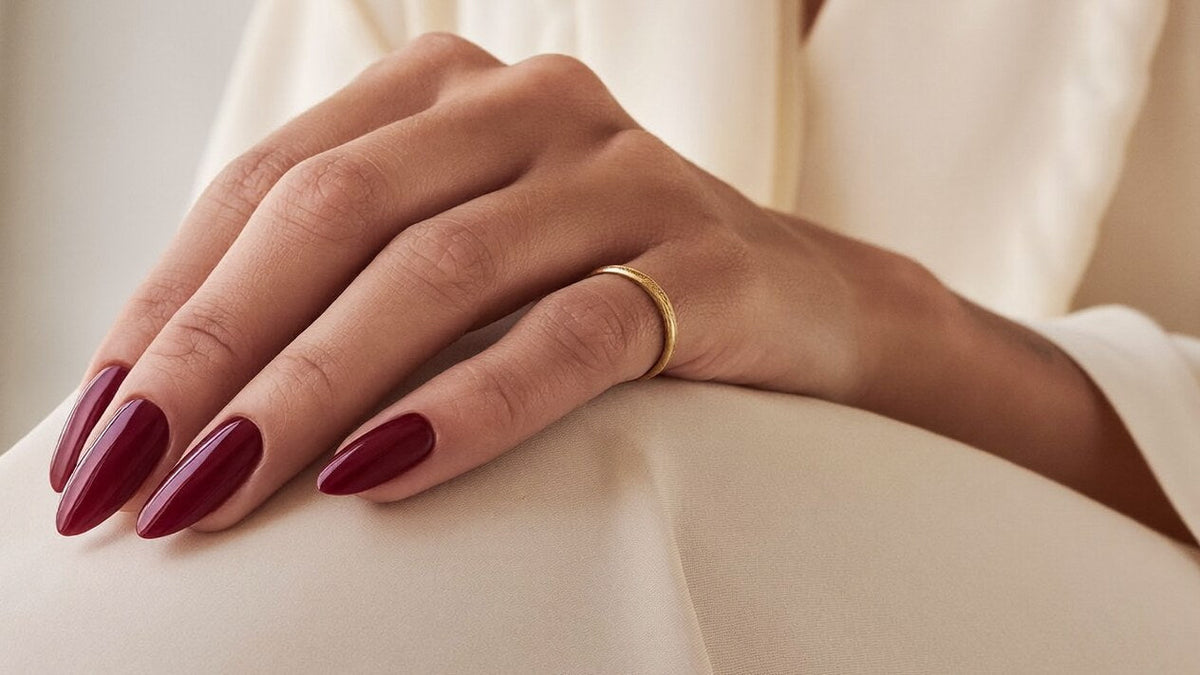
Burgundy Nails: 12 Chic Ideas for Autumn–Winter 2026
Wine red, black cherry, a fine burgundy French or a touch of gold: our favourite ways to wear the most elegant colour of the season, and the shades to do it.
7 min read
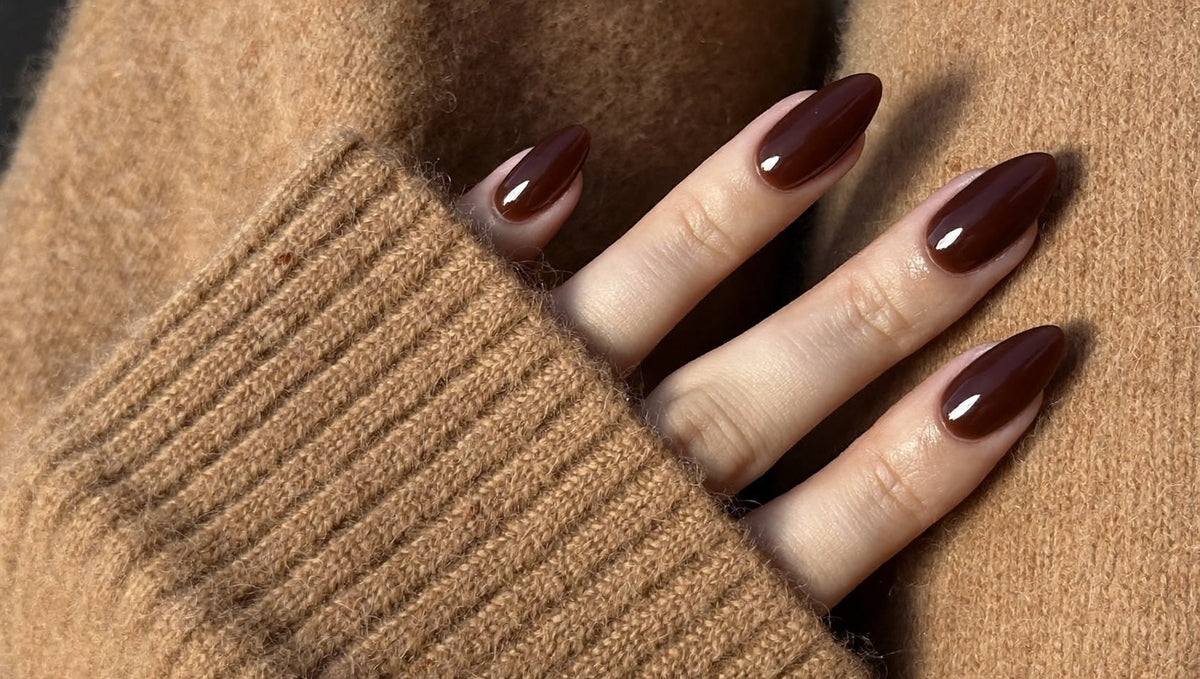
Brown Nails 2026: 12 Elegant Ideas, from Dark Chocolate to Caramel
Dark chocolate, espresso, marron glacé or golden caramel: twelve brown manicures for the season, the shade that suits your skin and the secrets of a brown that looks expensive.
6 min read
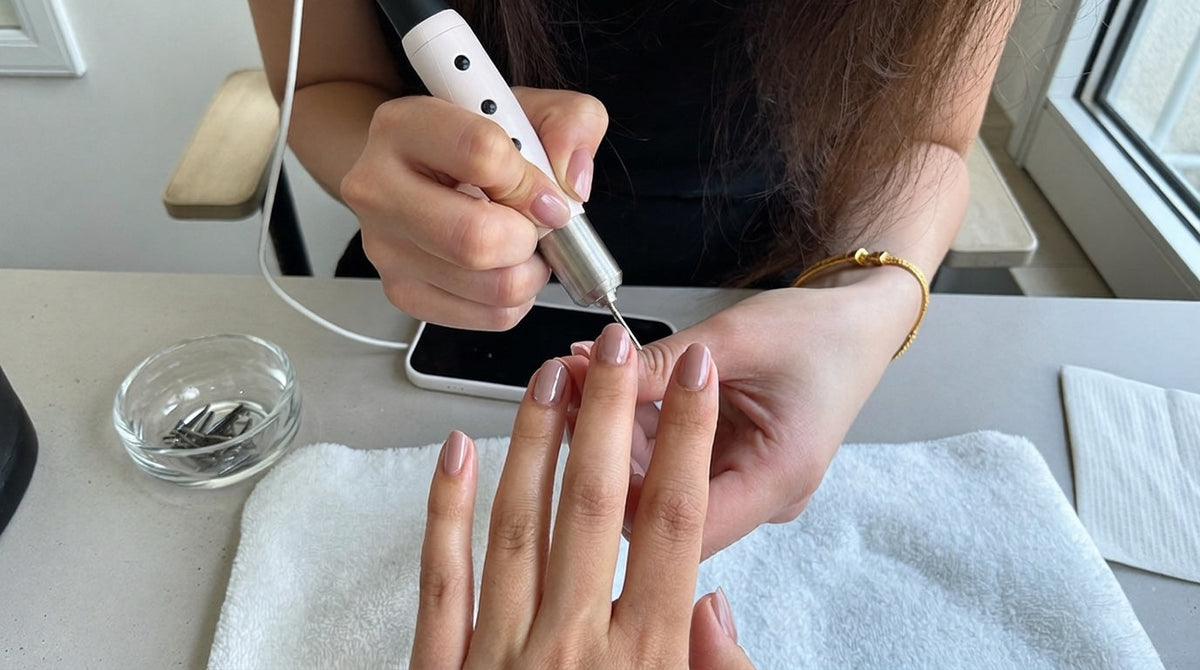
How to Choose a Nail Drill in 2026: Pro, Cordless and Beginner Buyi…
Speed, motor, battery, bits and safety: what to check before you buy a nail drill (e-file) in 2026, with a pro vs beginner comparison and our cordless drill.
8 min read
Free delivery from CHF 50
Shipped from Nice, France
Prepared in 1 to 2 business days
For orders placed before 2 pm, Paris time
14-day returns
From the day you receive your order
Secure payment
Encrypted checkout
Not sure which shade or product to choose? Talk it through with one of our nail experts.
Book my consultationNail tech, salon or distributor? Join the Elegelli professional programme for pro pricing.


