Ombre Nails: How to Do Them with Gel, Plus 12 Ombre Nail Designs
Gel stays wet until it's cured, which makes it ideal for blending. Learn the brush and sponge methods, then try 12 ombre nail designs, from a baby boomer to black tips and a cat eye fade.
by Anastasia Kovalenko
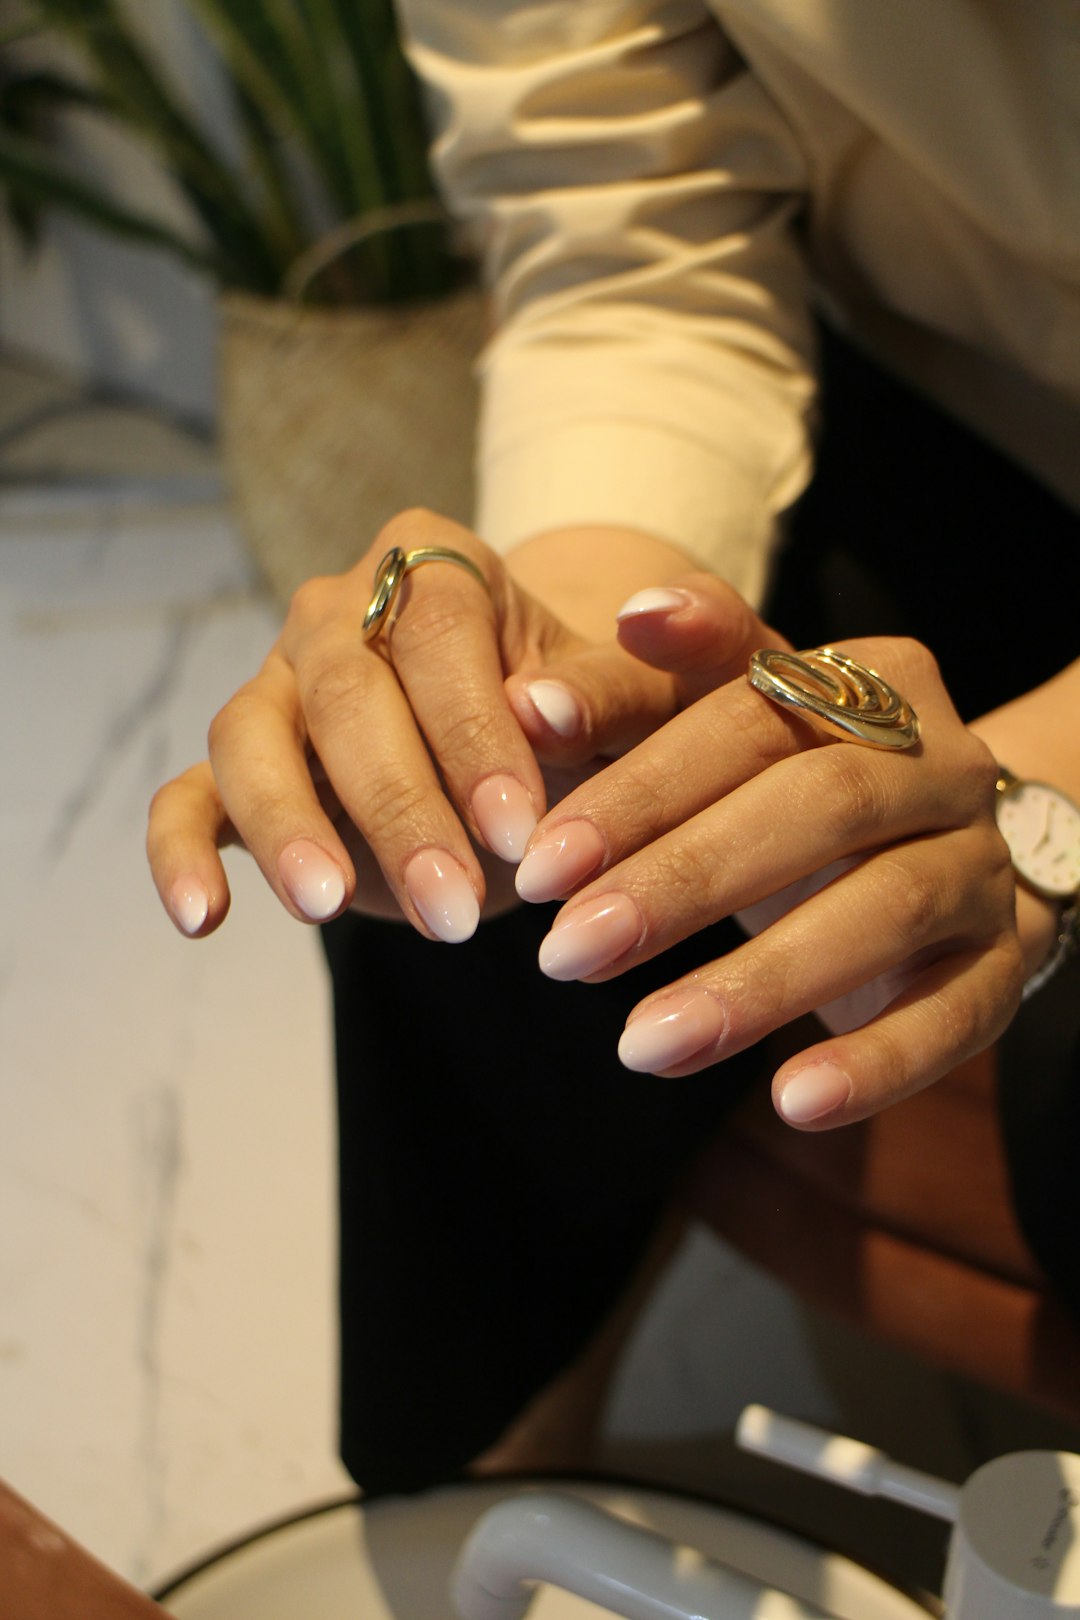
Hands with pink-and-white ombre nails and silver rings, white shirt cuffs
Ombre Nails: How to Do Them with Gel, Plus 12 Ombre Nail Designs
Ombre nails fade from one colour into another, with no visible line where the two meet. Gel makes them easier than they seem: it stays wet until it's cured, so you can take your time over the blend.
This guide covers the brush and sponge methods, 12 designs starting with a step-by-step baby boomer, and the most common mistakes.
How to do ombre nails with gel polish
To do ombre nails with gel, blend two colours where they meet in the middle of the nail before curing, then repeat with a second thin layer. A flat brush gives the cleanest result and works for most designs. A make-up sponge is quicker for bright, multi-colour gradients, but messier.
Prep as for any gel manicure: push back the cuticles, remove any tissue stuck to the nail plate, lightly buff away the shine, then cleanse and dehydrate. Prime oily nails and apply a thin base coat. Cap the free edge with every layer and cure each one for the time given in your gel's instructions.
How to blend ombre nails with a brush
You'll need a small flat synthetic brush and lint-free pads moistened with nail cleanser.
Lay a background. Apply a thin coat of the lighter shade over the whole nail and cure it, so no bare nail shows through an uneven blend.
Place both colours. Paint the lighter shade over the cuticle half and the darker one over the tip half, with a slight overlap in the middle.
Blend the join. Wipe the brush on a pad so it's barely damp, then dab lightly up and down across the join, wiping it again every few strokes.
Clean up and cure. Lift any gel off the skin with a clean-up brush and cure. Work on one nail at a time, as gel keeps settling until it's cured.
Repeat. Blend a second thin layer the same way and cure.
Seal. Finish with Diamond Top Coat, a no-wipe top coat, and cure.
A make-up sponge gives a grainier, airbrushed fade and works best with gel polish, as builder gel is too thick to dab evenly. Paint a stripe of each shade side by side on a wedge of sponge and dab off the excess on foil. Press the sponge onto the cured background colour in light dabs, rocking it slightly up and down to soften the joins.
Dab only on the nail, never on the skin. A peel-off barrier painted around the nail catches stray dots: remove it before curing, then clean any gel off the skin. Build two or three thin layers, curing each, and seal with top coat, adding a second coat if the sponge's tiny bubbles leave the surface rough.
12 ombre nail designs
1. Baby boomer nails (French ombre)
Baby boomer nails, also called French ombre, are a French manicure without the line: natural pink at the cuticle fades into a milky white tip. With no smile line to paint, they're more forgiving than a traditional French, and the blurred transition makes the nail bed seem longer.
Build the pink base. After prep, apply the light pink builder gel B006 Magnolia in two layers, curing each: a thin first layer, then a second that shapes a gentle apex. Our guide on how to use builder gel shows how to place the bead.
Refine if needed. Wipe off the sticky layer before filing the apex. If the shape is already right, leave it on, as it helps the white bond.
Blend in the white. Brush a thin layer of B003 Milky White over the top third, capping the free edge. Pull its edge down with a flat brush and tap along it until it fades out mid-nail, then cure.
Build up the tip. Add a second, shorter layer of white along the free edge, blend it the same way and cure.
Seal. Finish with Diamond Top Coat and cure.
Keep the white thin, because builder gel adds thickness with every layer. At each infill, file the old white back and blend a fresh fade.
For a pinker baby boomer with more contrast, use a ballet pink such as B009 Rose Ballerine and add a third, very short layer of white at the tip. Rosy pinks flatter fair skin and cool undertones, while golden and olive skin suit a warmer, peachier pink.
The most discreet ombre is also the easiest, as it needs almost no blending. Over a clear base, layer 021 Cloud, a sheer milky white, in three bands, curing each: over the top half, the top third, then just the free edge. The tip, covered three times, ends up the most opaque.
Tap the edge of each band with a clean brush before curing to avoid ridges. The glassy finish suits short nails and the office.
A vertical ombre runs from one side of the nail to the other: paint one colour down each half and blend the join with strokes from cuticle to tip. Because the fade crosses the width of the nail, it has as much room on short nails as on long ones. Two pinks such as Magnolia and Rose Ballerine make a subtle tone-on-tone version.
5. Black ombre nails
Black tips that dissolve into a nude or milky base make a smokier alternative to a black French manicure for autumn evenings. First cure two thin coats of Cloud or a sheer pink to even out the base.
Black pigment is so strong that a tiny amount of 001 Black is enough. Paint it along the free edge, capping it, and pull it down in short strokes, wiping the brush each time. It's the hardest design here, so practise on a spare tip first; our black nail designs include the crisp French version.
Kept to the tip, red is easier to wear than a full red manicure, and the pale cuticle area hides regrowth. Over cured Magnolia, brush B021 Rouge Capucine, a coral-leaning red builder gel, thinly over the top third and blend it down to mid-nail. Its coral undertone is a good match for warm skin tones and gold jewellery. For winter, cover the whole nail in Rouge Capucine and fade a little black down from the tip.
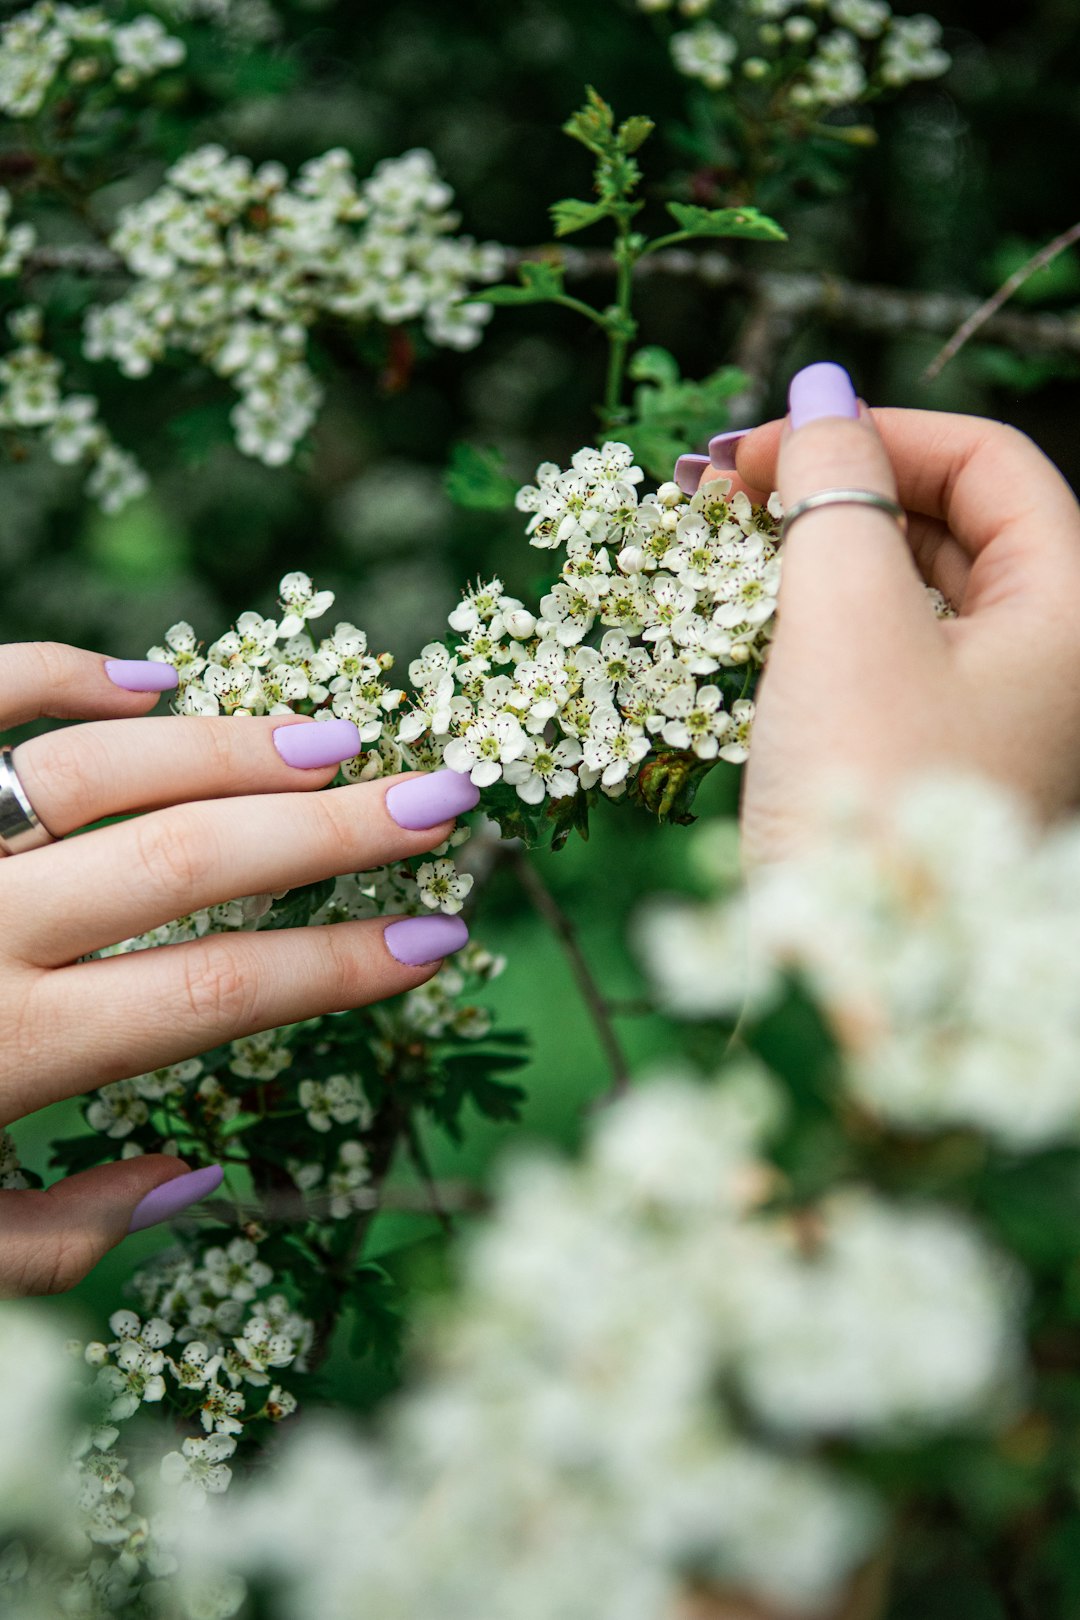
Lilac fading into milky white flatters cool undertones and pairs well with silver jewellery. Lay two thin coats of Cloud as the background, curing each, then blend 022 Lilac down from the tip.
Pastel gels contain a lot of white pigment, which makes them prone to streaks. Apply thin coats, let each settle for a few seconds before curing, and expect to need two layers.
Pearl or chrome powder gives a finished ombre a glazed sheen, and white pearl over a baby boomer makes a pretty bridal finish. Cure a thin layer of Diamond Top Coat, rub the powder on with a silicone tool and brush off every loose speck, especially at the edges. Seal with another layer of top coat, capping the free edge, and cure.
9. Glitter ombre nails
A glitter ombre is densest at the tip and thins out towards the cuticle, which keeps it light enough for daytime. Brush B025 Poussière De Diamant, a transparent builder gel with a subtle shimmer, over the top half of cured Rose Ballerine and pull its edge down with a flat brush. Cure, then add a thin, shorter layer at the tip, cure again and seal with top coat.
With cat eye gel polish, the magnet does the blending. Over a cured black base, which makes the shimmer stand out, apply a thin coat of cat eye gel and cure it. Apply a second coat and hold the magnet just above the free edge for a few seconds, without touching the gel. Once the particles have gathered at the tip, thinning out towards the cuticle, cure straight away. Our cat eye nails guide covers the other magnet positions.
11. Sunset ombre nails
Sunset ombre nails fade from pink at the cuticle to coral at the tip, a summer design that shows off a tan. With a brush, blend Rouge Capucine, which leans coral, down from the tip over cured Rose Ballerine, working across a wide zone so the coral-pink tones in between show. For a brighter version with orange at the tip, sponge on stripes of pink, coral and orange gel polish, in that order from the cuticle.
12. Short ombre nails
Short nails leave little room for a gradient, so pick two close shades, such as nude to milky, that blend over a short distance. Strong contrasts are harder to wear: a black tip covers so much of a short nail that it makes it seem shorter. Because a gradient draws the eye to the tip, file all ten nails to the same length and shape first.
Ombre nail mistakes to avoid
A hard line in the middle. Overlap the colours slightly, blend over a wider zone and let the second layer smooth what's left.
Layers that are too thick. Where colours overlap, the gel doubles in thickness, and thick gel can wrinkle, stay soft underneath and lift. Wipe most of the gel off the brush first.
Colours with different opacity. An opaque shade swamps a sheer one and the fade turns patchy. Lay the sheer colour over the whole nail first, or pair shades that cover in the same number of coats.
A muddy middle. Opposite colours, such as red and green, turn brown where they mix. Pair neighbouring shades, or fade a colour into white or nude.
Gel on the skin. Clean it off before every cure: it causes lifting, and uncured gel on skin is the main cause of gel allergy.
Frequently asked questions
Are ombre nails still in style?
Yes. Ombre has moved on from the bright two-colour gradients of the early 2010s to subtler fades, such as the baby boomer and nude to milky.
What is the best colour for ombre nails?
A pale pink or nude with a milky white is the safest first pair: it suits almost every skin tone and hides small blending flaws. For more colour, pick neighbouring shades on the colour wheel, such as pink and coral.
Do ombre nails last longer?
A gel ombre wears as well as any gel manicure made with the same products. It does stay neat for longer when the colour at the cuticle is sheer or nude, because regrowth barely shows. Our guide to how long gel polish lasts explains how prep prevents lifting.
Are ombre nails classy?
Yes, especially in low-contrast shades. A baby boomer or nude to milky fade on oval or almond nails looks polished at work and at weddings, while black tips and sunset fades are more playful.
Can you do ombre nails on short nails?
Yes. Low-contrast fades such as nude to milky work best, and a vertical ombre suits any length. Save black tips for longer nails, as they make short ones seem shorter.
To plan your own ombre, browse our builder gel and gel polish collections and start with two shades from the same colour family.
Done carefully, a gel manicure at home lasts two to three weeks. This guide takes you through every step, from prep to top coat, and shows how to fix wrinkles, bubbles and streaks.