

Cuticle Oil: How to Use It and Push Back Your Cuticles Safely
A drop of cuticle oil each evening and gentle pushing back once a week keep cuticles neat, as long as you know which skin to remove and which to leave alone.
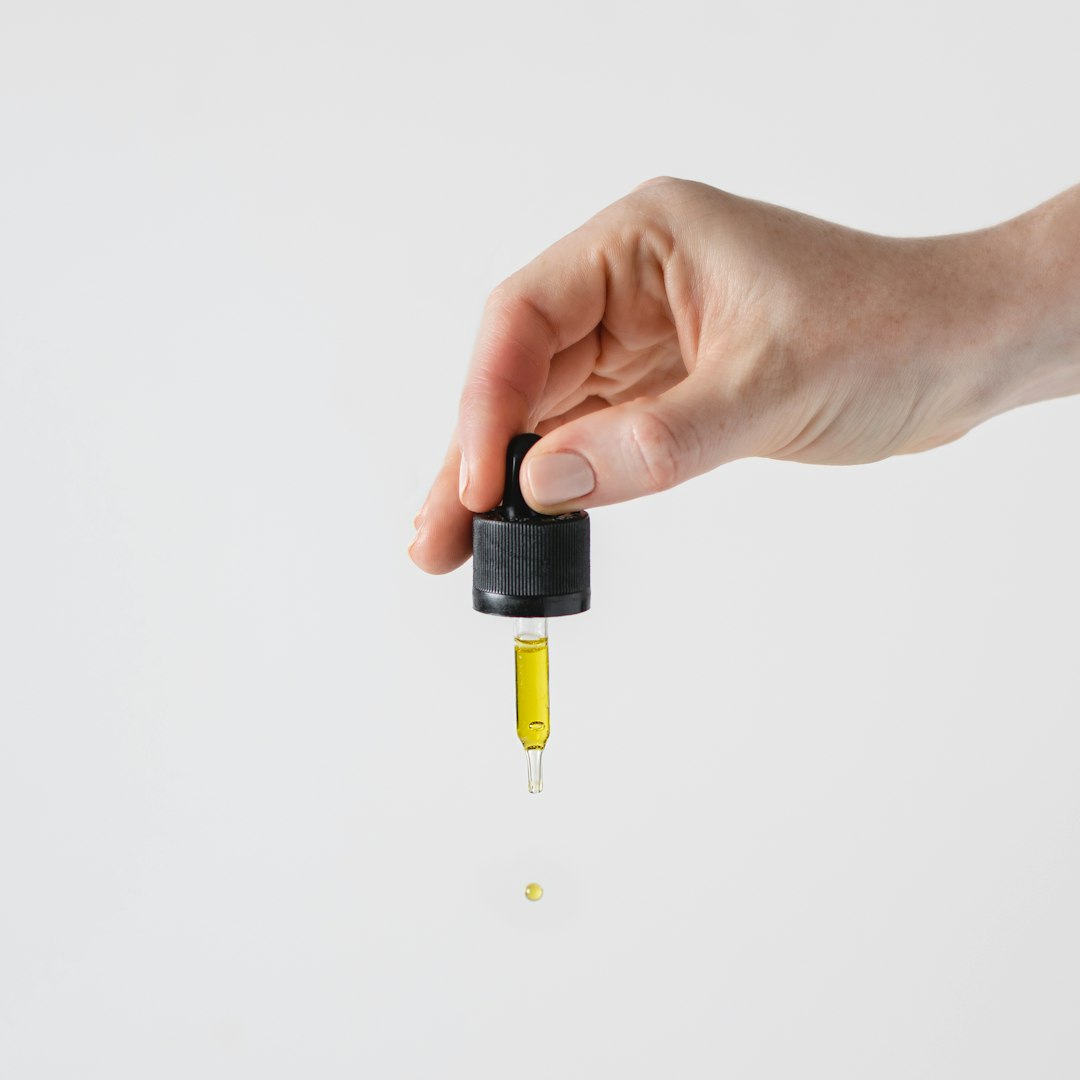
A drop of cuticle oil each evening and gentle pushing back once a week keep cuticles neat, as long as you know which skin to remove and which to leave alone.

Cuticle oil keeps the skin around your nails supple, so it's less likely to crack or split into hangnails. It takes a minute a day: one drop per nail, massaged into the skin at the base and sides of the nail, ideally in the evening.
The other half of cuticle care is knowing which skin to remove and which to leave alone. This guide explains the difference, how to use cuticle oil on bare and gel nails, and how to push back and prep your cuticles safely.
In nail care, the cuticle is the thin layer of dead skin stuck to the nail plate at its base. It comes from the underside of the fold of skin behind the nail and is carried forward as the nail grows. On a dry nail it's almost transparent and easy to miss until you lift it.
The rim of living skin just behind it is the eponychium, the edge of the proximal nail fold, and it's what most people call their cuticles. It seals the base of the nail and protects the matrix underneath, where the nail is formed, from water, dirt and bacteria. So the dead cuticle can be removed, while the eponychium should only be eased back and kept supple.
No, not the living skin. Cutting the eponychium breaks the seal and leaves a small wound where bacteria can get in, which is why dermatologists advise against it. A cut edge also tends to dry out and fray as it heals, leading to more hangnails and more temptation to cut again.
Trim only hangnails and dead skin that has already lifted away, and keep the edge neat with regular pushing back and daily oil.
Use cuticle oil every evening, when it can stay on for hours. During the day, top up after washing your hands, since soap strips the skin's natural oils.
Cuticle oil is worth using every day on gel nails. It doesn't damage cured gel or top coat, and it stops the skin around the gel from drying out.
The only thing to watch is timing, because oil on the nail plate stops gel from bonding. Keep oil and hand cream off your nails on the day of a manicure or infill. Apply oil last, once the top coat is cured and any sticky layer wiped off.
Three ingredients are worth recognising on a cuticle oil label. Jojoba, listed as Simmondsia chinensis seed oil, absorbs well and leaves little greasy residue, so it's best during the day. Sweet almond oil (Prunus amygdalus dulcis) feels richer and is better at bedtime, but skip it if you have a nut allergy. Vitamin E, which appears as tocopherol, is added to help the blend stay fresh.
An oil pen fits in a handbag for top-ups during the day. In a salon, use a dropper bottle or single-use applicators, so nothing that has touched a client's skin goes back into the bottle.
On bare nails, pushing back once a week keeps cuticles tidy. It's also a step in a Japanese manicure, done before the nails are buffed to a shine. If you wear gel, do it at each new manicure or infill and let daily oil do the rest.

A rubber-tipped pusher, sometimes called a hoof stick, is the safest choice for beginners because its soft tip won't scratch the nail. A stainless steel pusher is more precise, with a rounded end for pushing back and a narrower end for lifting cuticle and cleaning the sidewalls.
A metal pusher's edge should be smooth, with no sharp corners or burrs. Clean and disinfect metal pushers and nippers after every use. Orangewood sticks are porous and can't be disinfected, so use each one only once.
Many nail technicians now do cuticle work on dry nails, with an electric file. A fine diamond flame bit lifts the cuticle, then a small diamond ball removes it, at low speed and with no pressure. This is the method behind the Russian manicure, which leaves a very clean line at the cuticle. It takes proper training, though: the wrong bit, speed or pressure can burn or cut the skin, so at home, stick to hand tools.
For technicians, our Professional Cordless Nail Drill has a brushless handpiece that runs without vibration, which matters when you work close to the skin. Cuticle bits run at around 8,000 to 15,000 RPM, and our nail drill bits guide explains which to choose.
If dead cuticle is left on the nail plate, the gel sits on skin rather than nail and starts to lift within days. It's the most common reason gel lifts at the cuticle, and our guide to how long gel polish lasts covers the others.
Work on dry nails: a nail that has absorbed water swells slightly, and gel applied over it tends to lift as it shrinks back. Once the cuticle is off, tilt each finger under a bright light to check for any film you've missed.
Next, lightly buff away the shine with a fine buffer (180 grit or finer) and brush off the dust. Cleanse the nail with Prep Booster to remove oils and moisture, and use an acid-free primer on oily nails or nails that tend to lift.

Then apply a thin base coat, such as RB01 Rubber Base Transparent, stopping a hairline short of the skin and capping the free edge. If any gel touches the nail fold, lift it off with an orangewood stick before curing for the time given in the instructions. Gel left on skin makes the manicure lift, and uncured gel on skin is the main cause of gel allergy.
Dry cuticles usually come from everyday life: frequent hand washing, hand sanitiser, cleaning products, cold air and central heating. Soaking off gel with acetone dries the skin too, and picking at rough edges turns dryness into sore splits.
While they're dry, use oil two or three times a day as well as at bedtime, and hand cream after washing your hands. Wear gloves for cleaning and washing up, and outdoors in cold weather. After removing gel with acetone, wash your hands and oil the cuticles straight away. Give ragged skin a few days of oil before you trim anything.
Some symptoms around the nail need a doctor. Redness, swelling or pain can mean an infection, and itching or small blisters after a gel manicure can be a sign of allergy. In either case, stop your manicures and see a doctor or dermatologist.
The usual cuticle oil mistakes are applying it just before a gel manicure and using a lot occasionally instead of a drop a day. With tools, most damage comes from four habits.
After. Oil on the nail plate stops gel and polish from bonding, so wait until the top coat is cured or the polish is dry. From then on, use it daily until your next manicure.
No, leave it to absorb and rub any excess into your hands. Before your next manicure, buffing and cleansing the nail removes any oil left on the surface.
Yes. Massaging with your thumb spreads the oil into the nail fold and along the sides of the nail, where dryness and hangnails start. Daily massage eases the skin back a little too, so you'll have less to push back later.
Leave it until it has absorbed, which usually takes a few minutes, and avoid washing your hands straight afterwards. At bedtime it can stay on all night. A thick layer doesn't help: it just sits on the surface and ends up on your sheets.
You can, as long as you don't force it. The warnings are about pushing hard or every day, which can separate the eponychium from the nail and break its seal. Once a week, with a rounded tool and light pressure, is fine for most nails.
When your cuticles are ready for colour, start with a thin coat from our rubber base collection.

Flower Nail Designs: How to Paint Flowers with Gel, Plus 15 Ideas
Dot daisies, brush-stroke petals and line-art outlines sit behind most floral nail art. Learn all three in gel, then try 15 designs, from sunflowers to pressed flowers.
9 min read

3D Nail Art: How to Make Droplets, Swirls and Flowers with Builder …
Droplets, swirls and flowers you can feel with a fingertip: how to sculpt raised designs in builder gel, cure them in stages and keep them from catching on hair and clothes.
9 min read

Polka Dot Nails: How to Paint Even Dots with Gel, Plus 10 Designs
Even polka dots depend on the right ball size, a fresh dip for each dot and a cure every few nails. Learn the method, then try 10 designs, from black and white to gold.
8 min read

Jelly Nails: How to Get the Glassy Look with Gel, Plus 10 Designs
Jelly nails are sheer and glossy, like boiled sweets or coloured glass. See two ways to build them in gel, how to keep bubbles out, and ten designs from pink jelly to stained glass.
8 min read
Shipped from Nice, France
Prepared in 1 to 2 business days
For orders placed before 2 pm, Paris time
14-day returns
From the day you receive your order
Secure payment
Encrypted checkout
Not sure which shade or product to choose? Talk it through with one of our nail experts.
Book my consultationNail tech, salon or distributor? Join the Elegelli professional programme for pro pricing.


